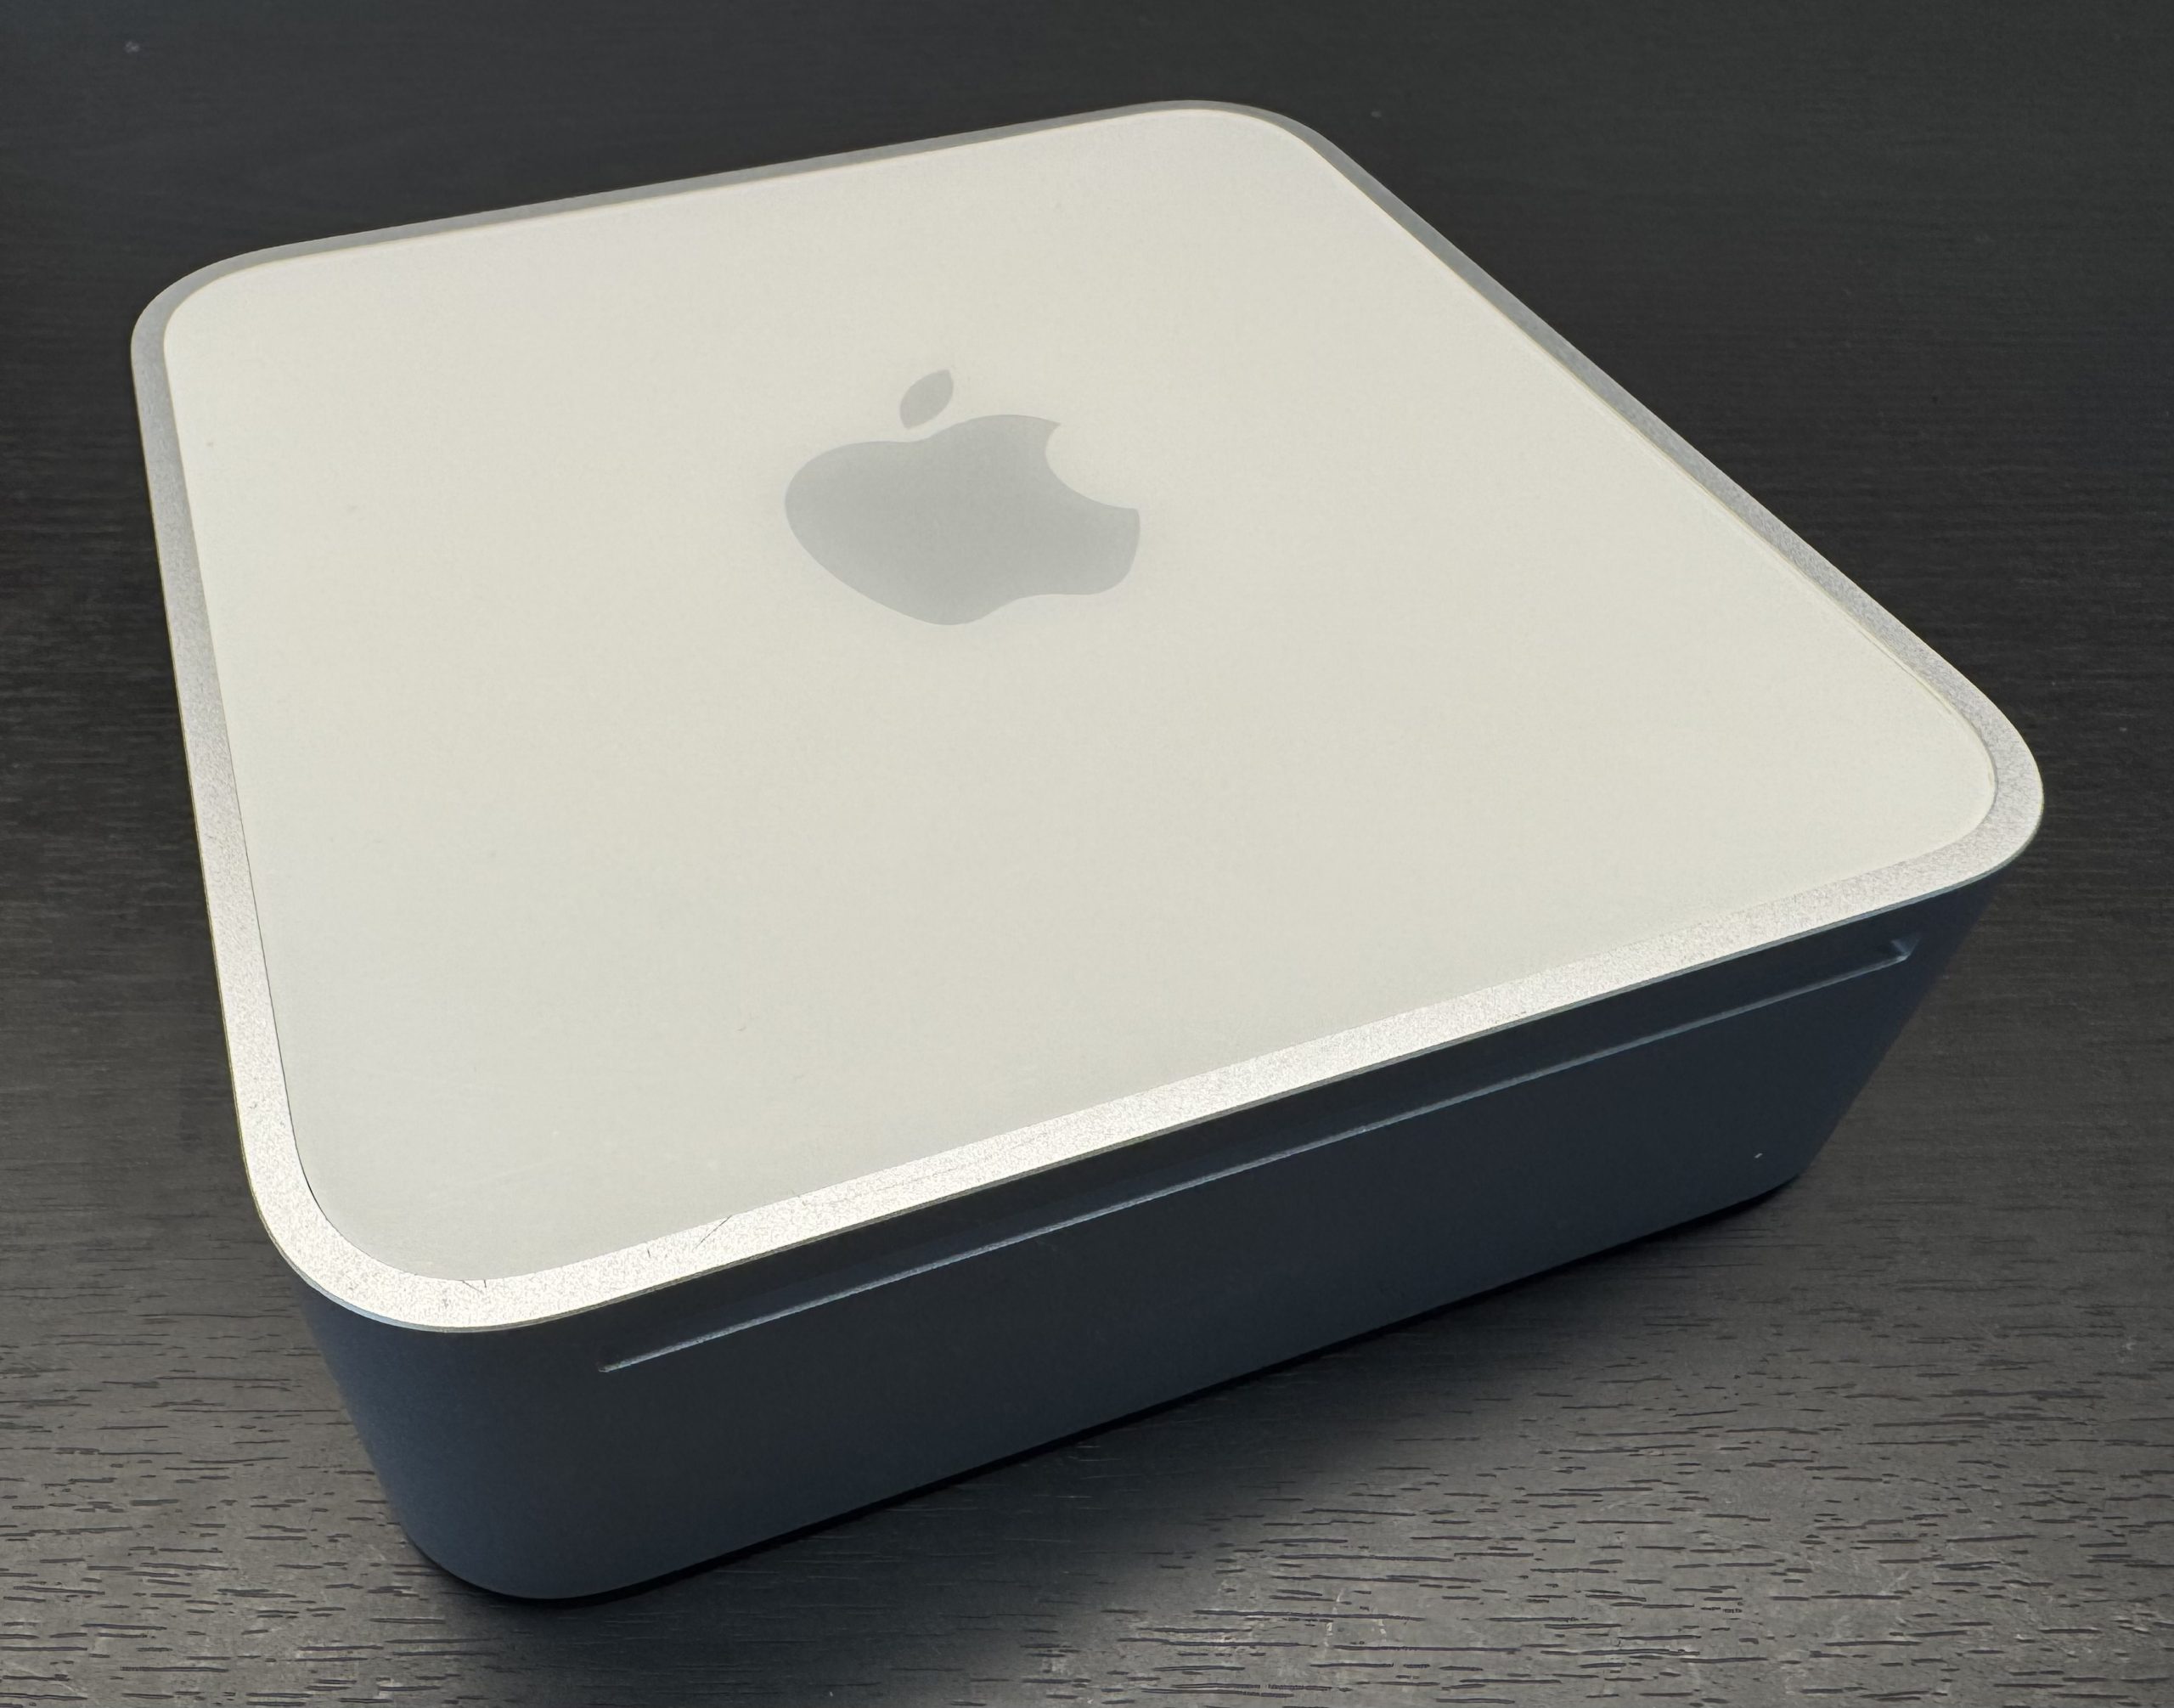
I needed to use a SCSI film scanner with software that ran on PowerPC, so I set up an older Mac that supports PowerPC. I decided on the Mac Mini G4 due to its compact size and built-in DVD player.
Yellowing: Restoring the original color
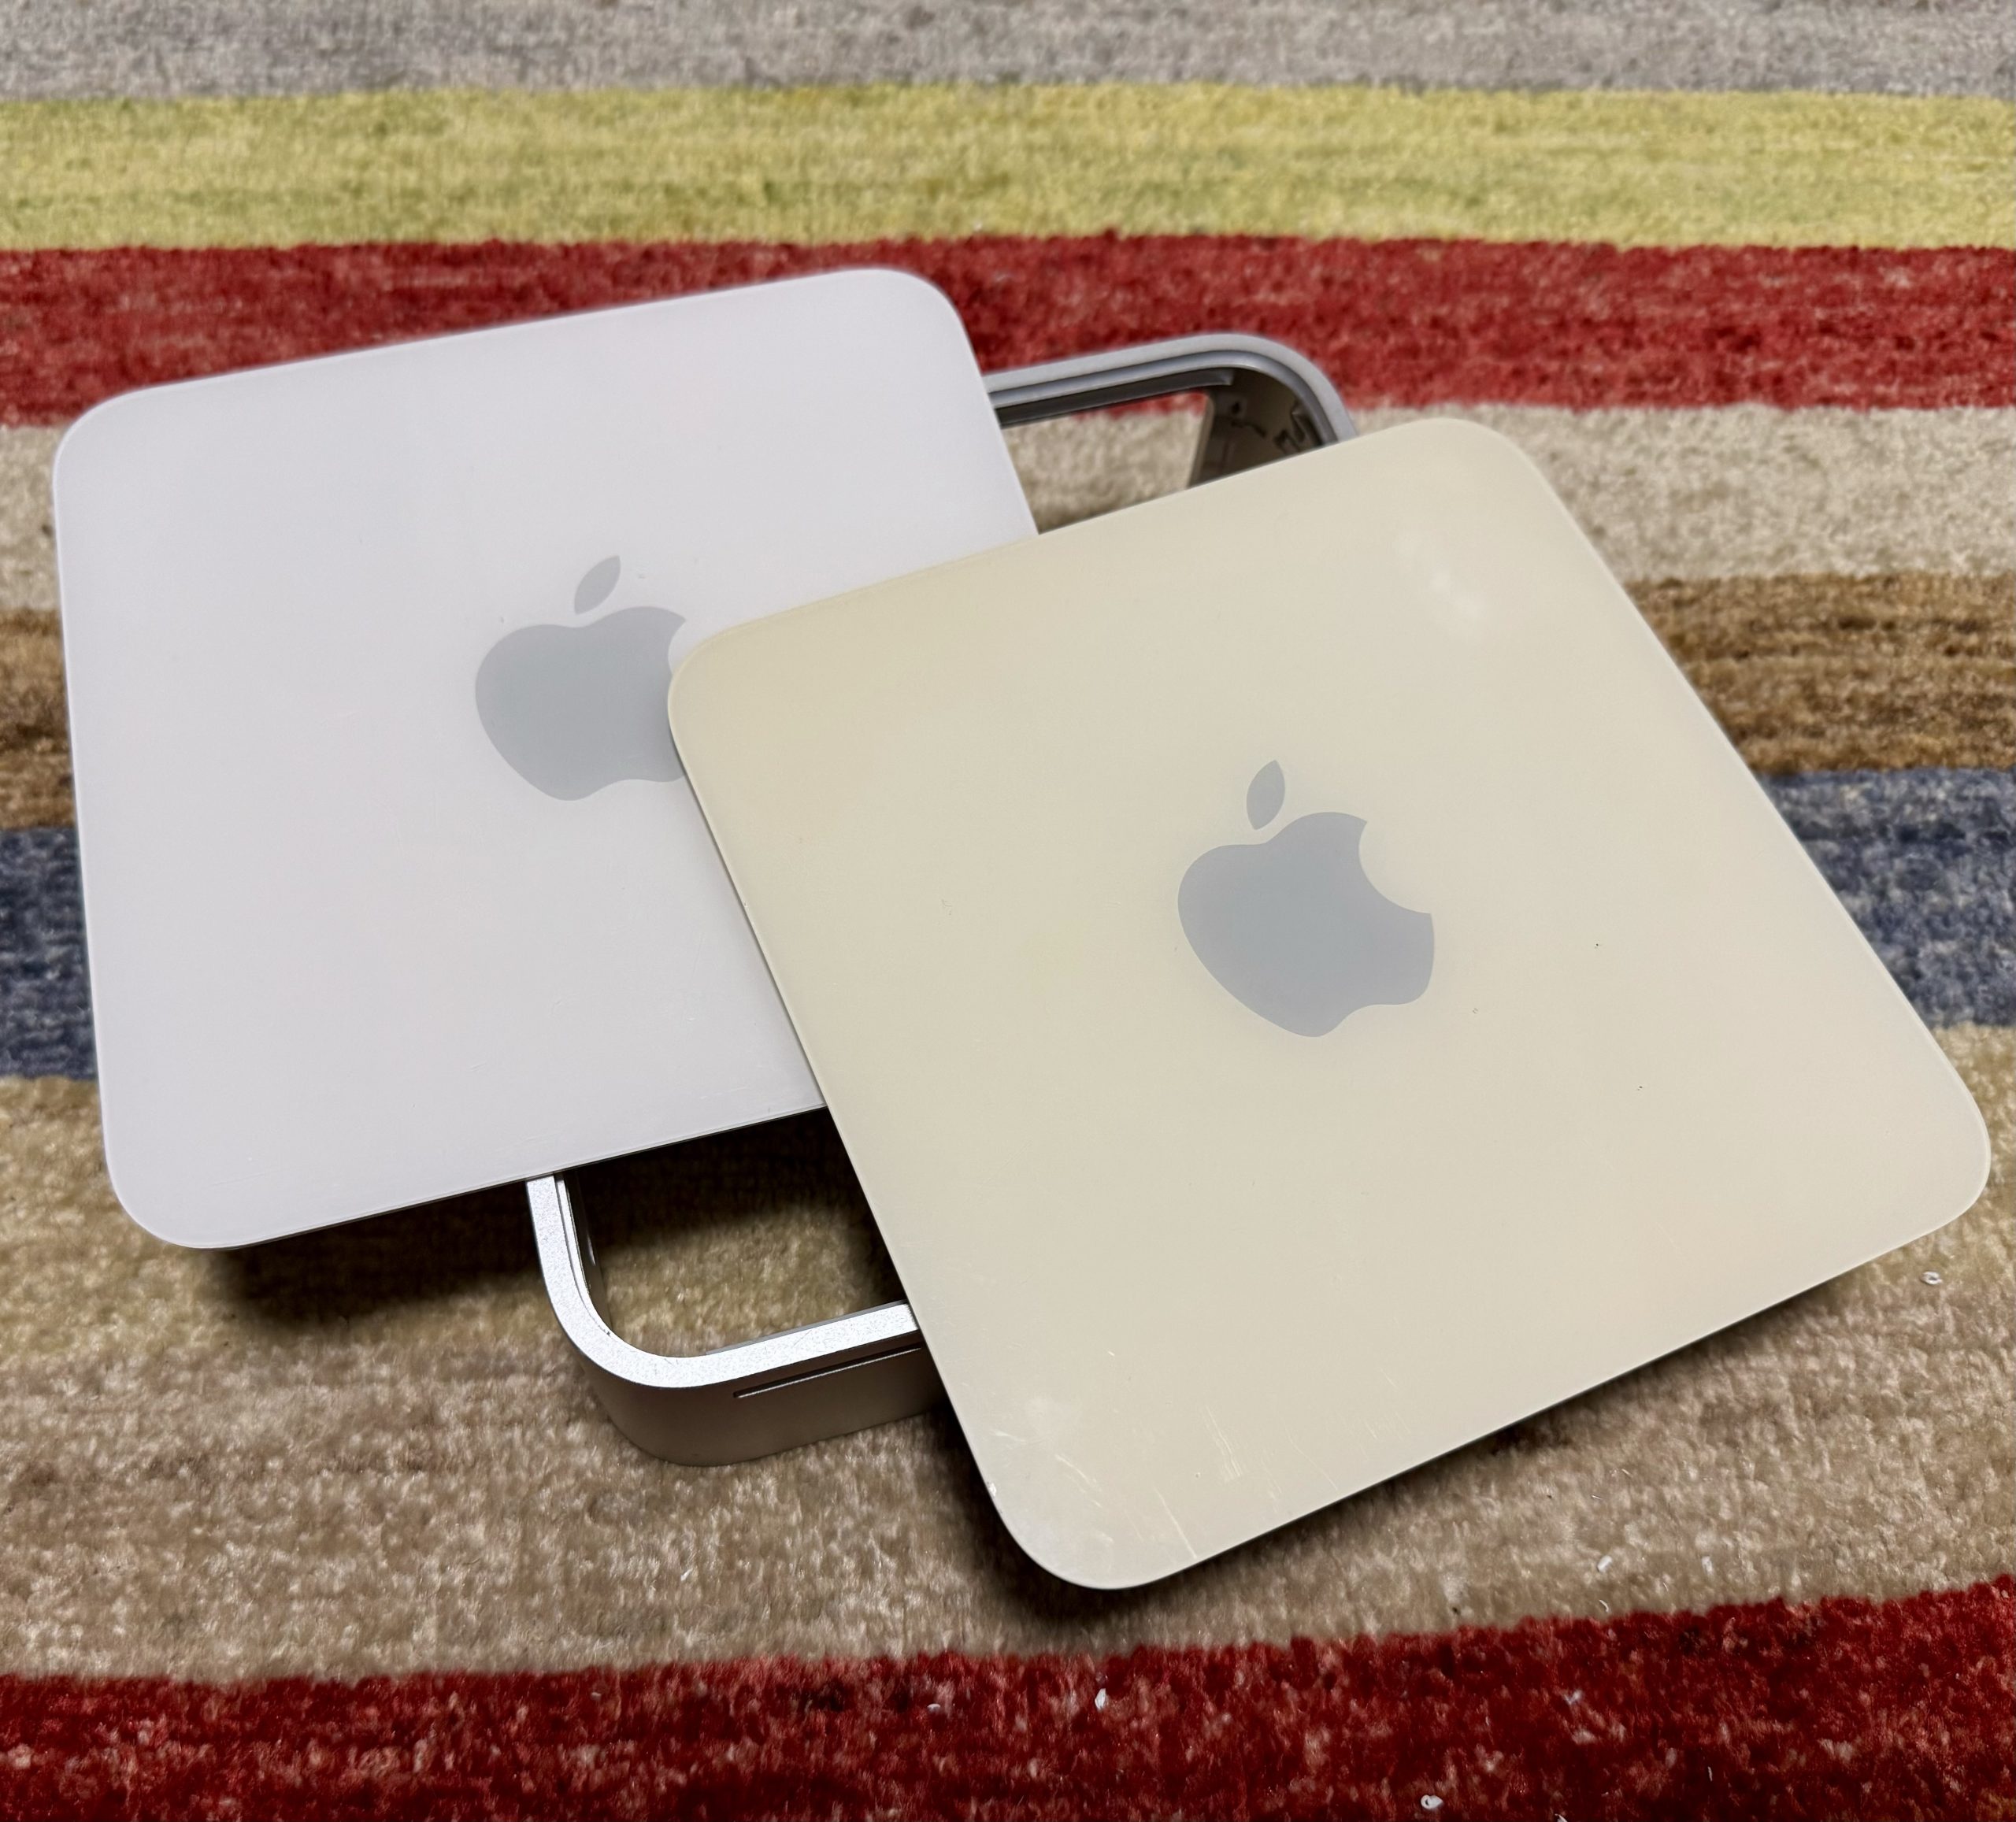
The original Mac Mini G4 units often show heavy signs of yellowing. The top plastic lid is made of 3 layers: a top thick clear polycarbonate layer, a thin white layer that bears the logo, and a bottom white supportive layer. It’s that thin center layer that turns yellow. The last Mac Mini in this form factor released 4 years later, the A1283, shows no signs of yellowing. It seems that the material used on the A1283 was changed to prevent the yellowing.
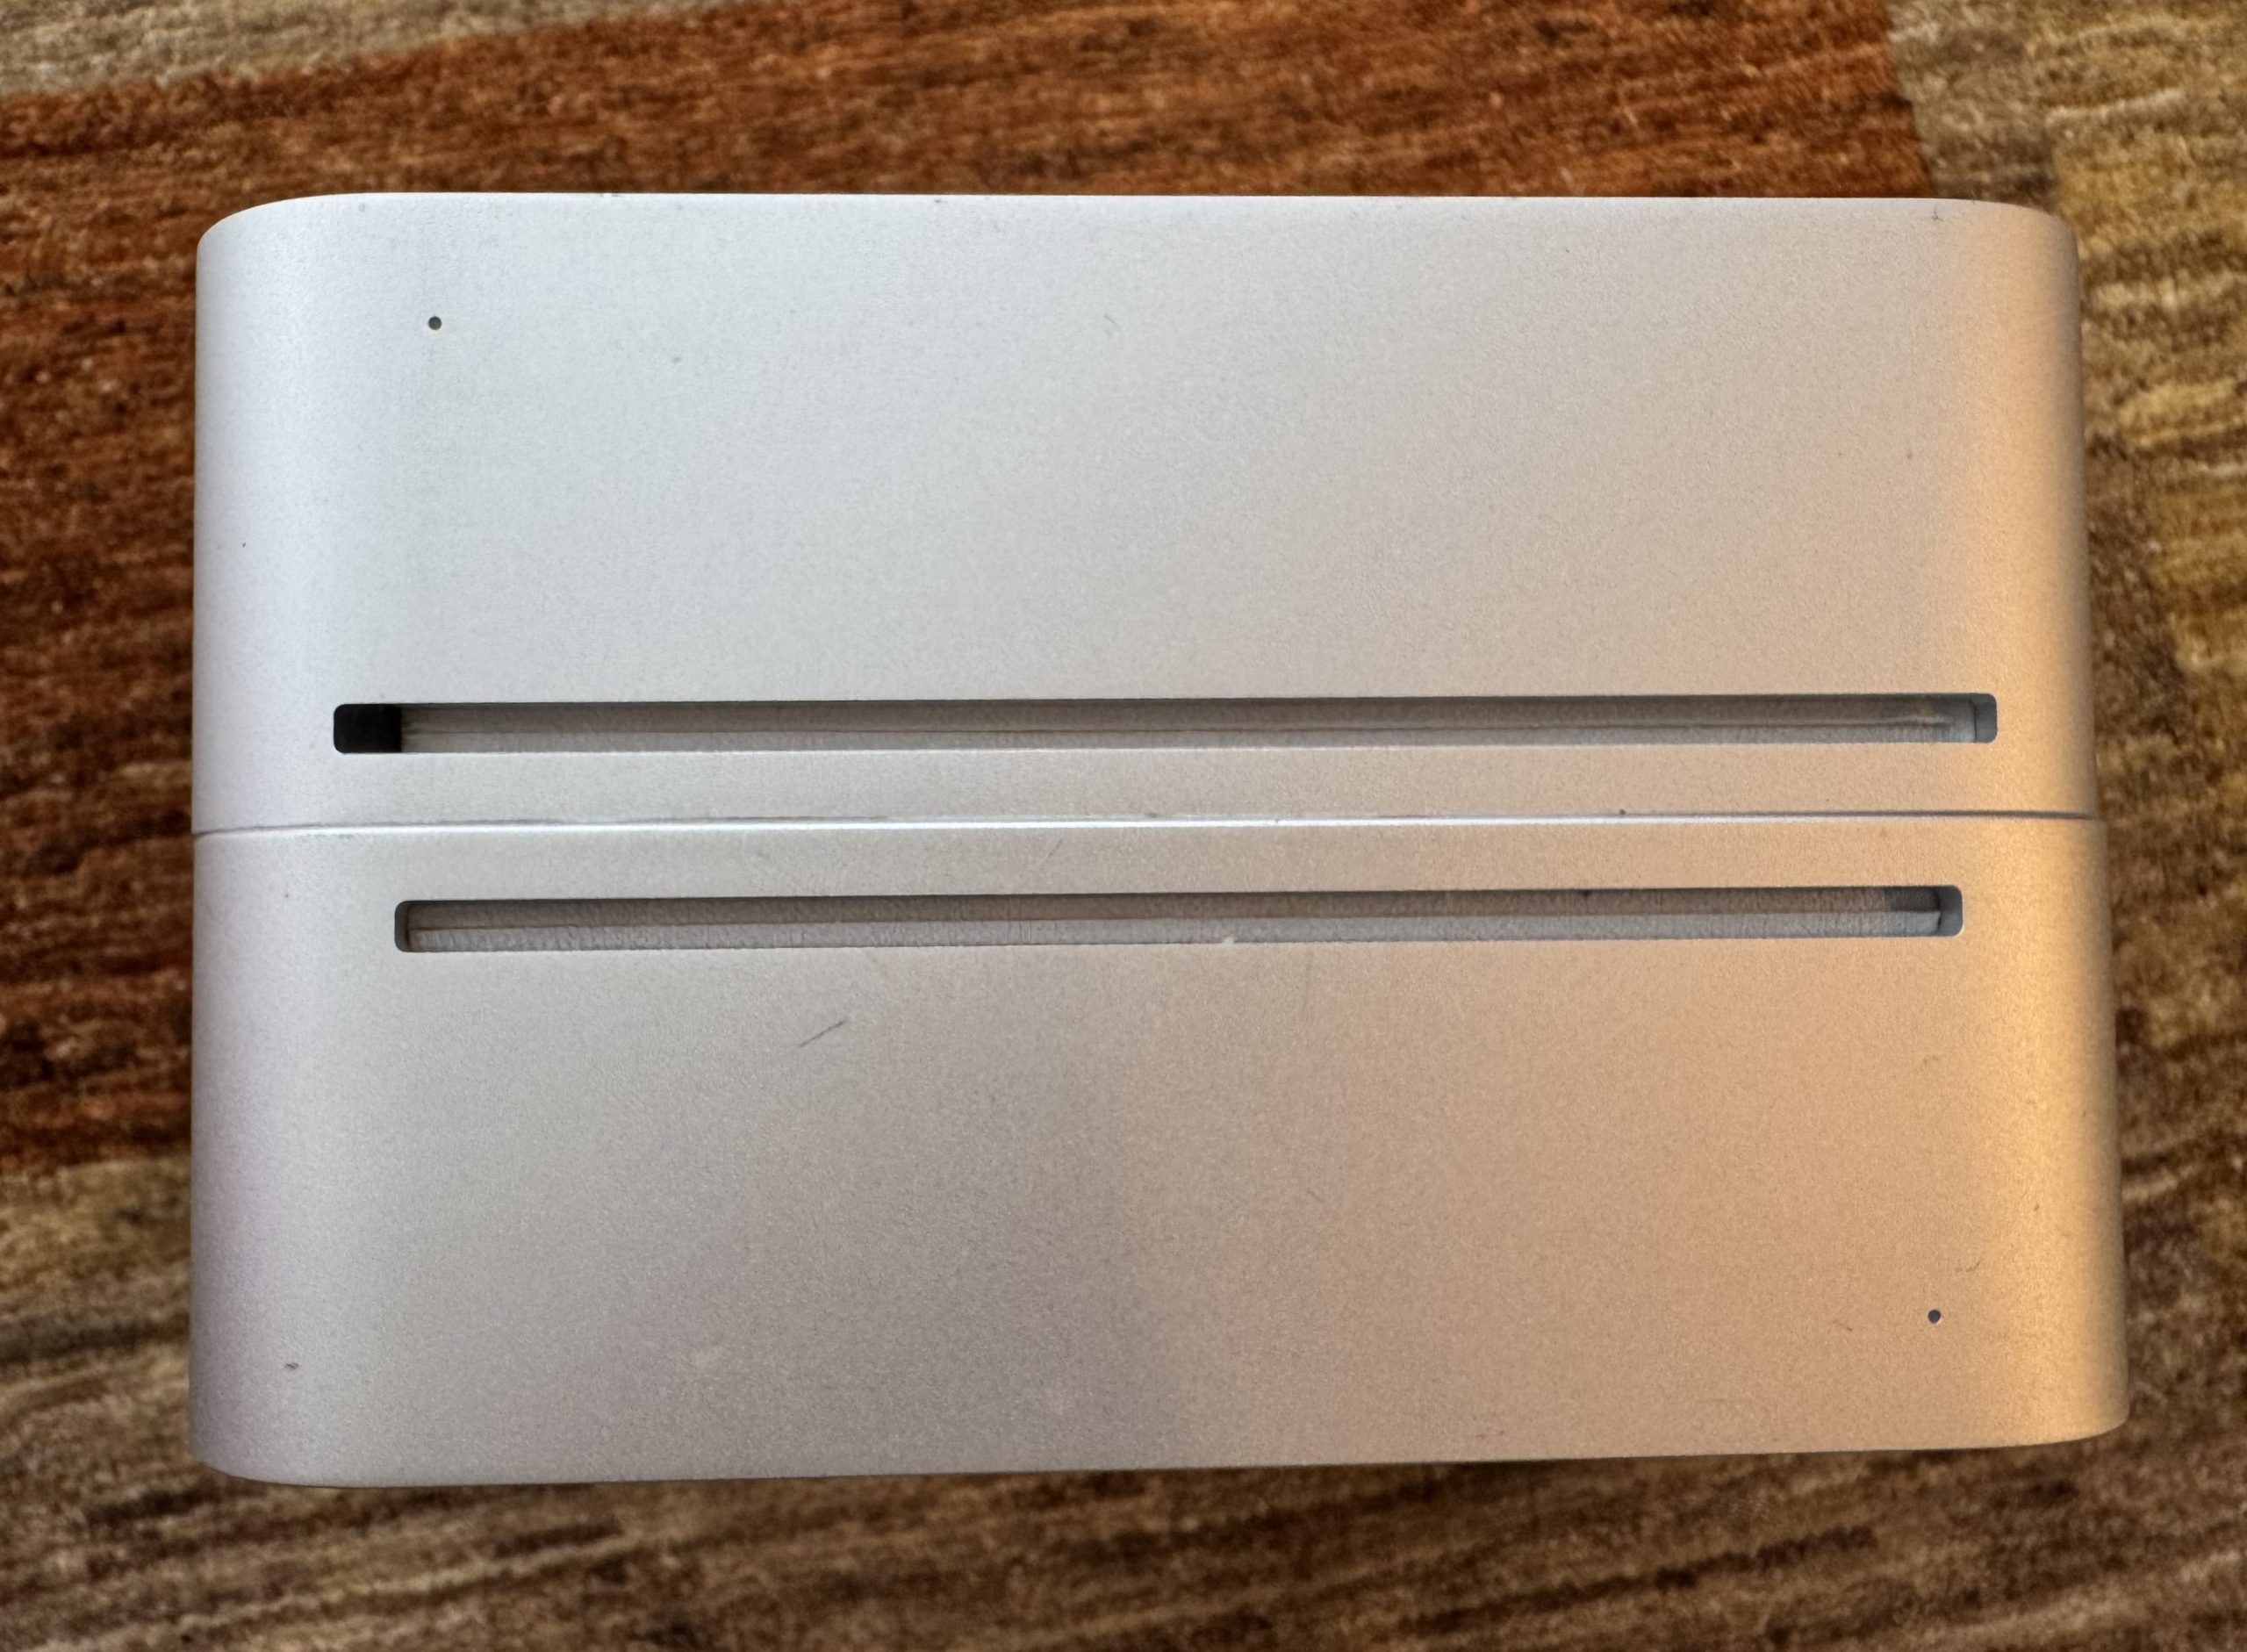
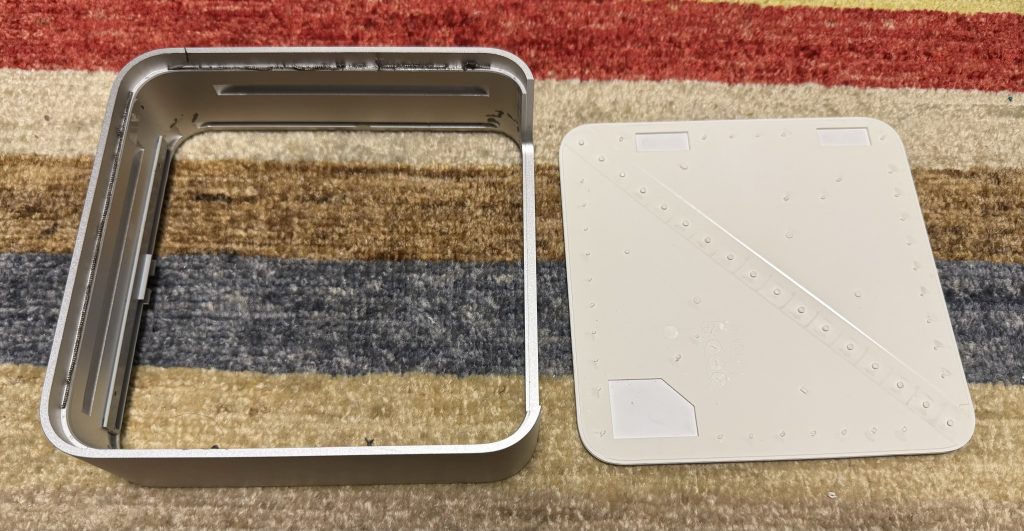
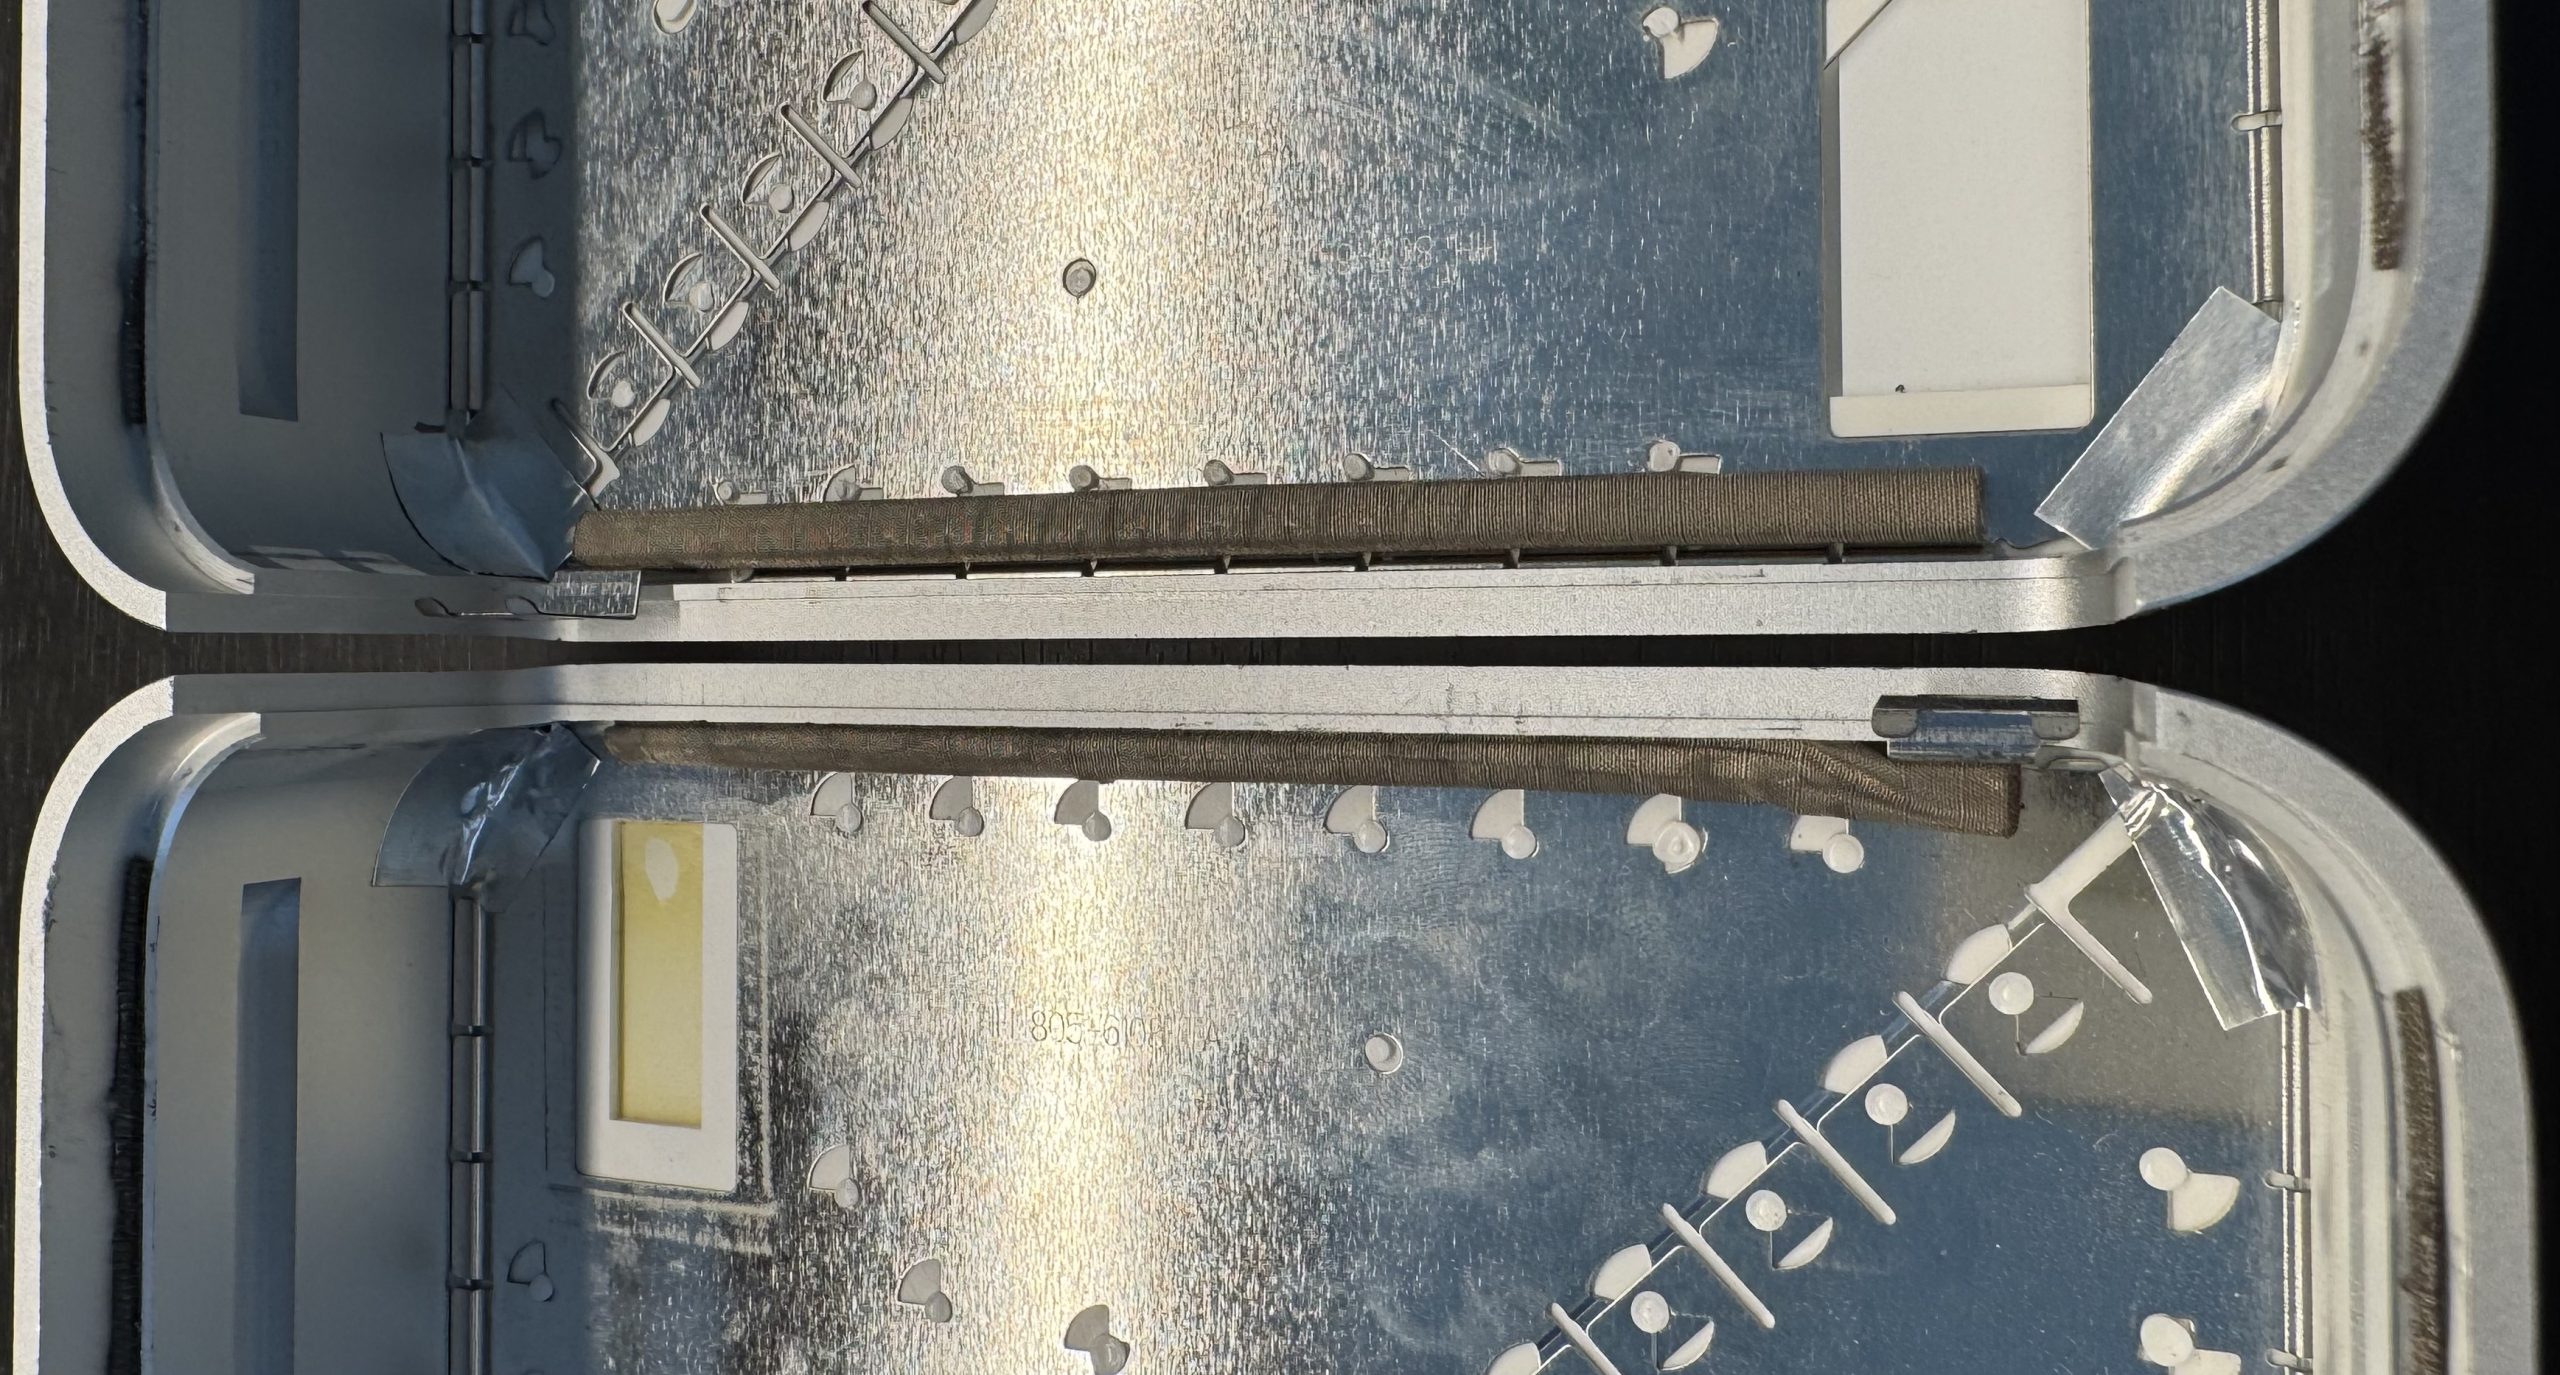
Below image shows a comparison of the A1103 and A1283 Mac Mini lid . The lid contains a small cut-out of the 3rd layer for the Wi-Fi antenna, allowing you to see the middle layer. Notice how the opening on the bottom one (A1103) is much more yellowed than on the top one (A1283).

Retrobrite can not be used here as the affected yellowing material is glued between two plastics. Leaving the lid out in the sun also has no effect on reversing the yellowing. The only way to the color is to replace the housing. The housing on the A1283 is, however, a bit different than the A1103, so they are not interchangeable.
I could just clip off the security anchor on the back and use the A1283 case on a A1103, but the front would still not be appropriate for that model. Therefore I decided to remove replace the plastic lid in the A1103 by using the one from the A1293.
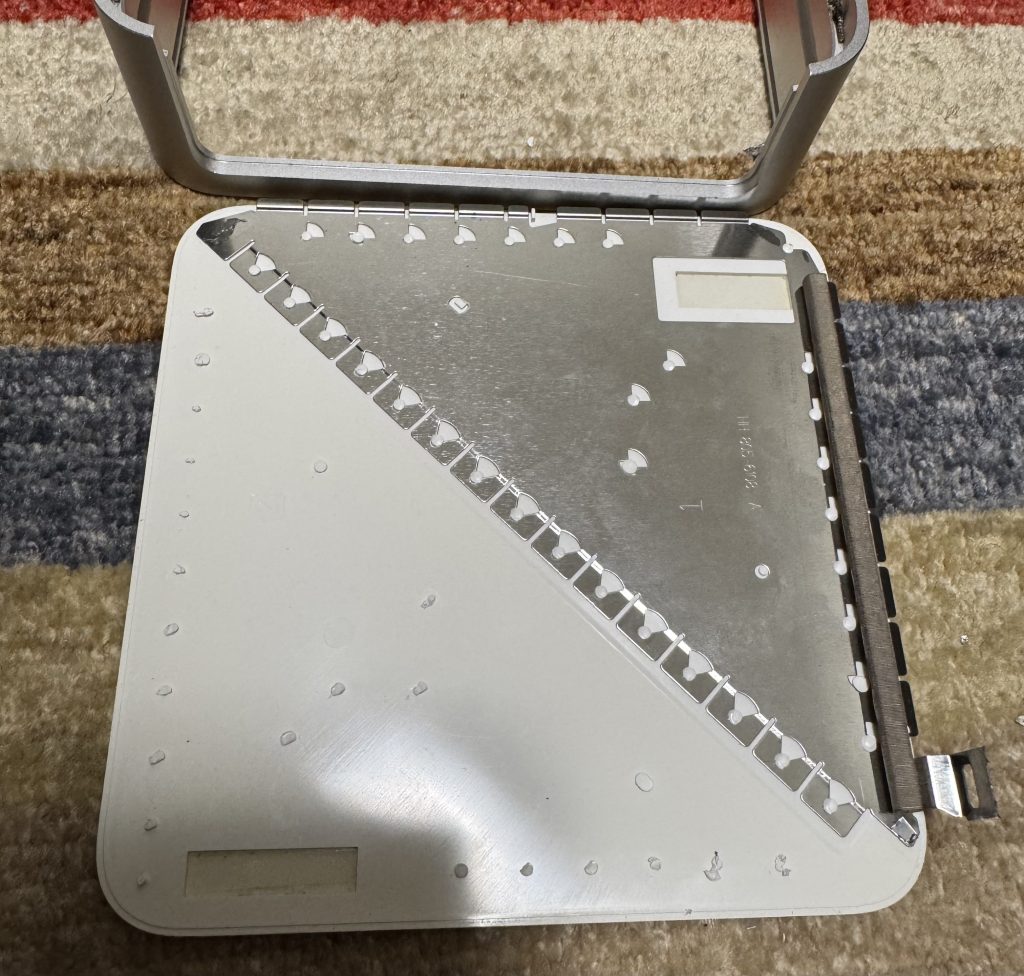 |  |
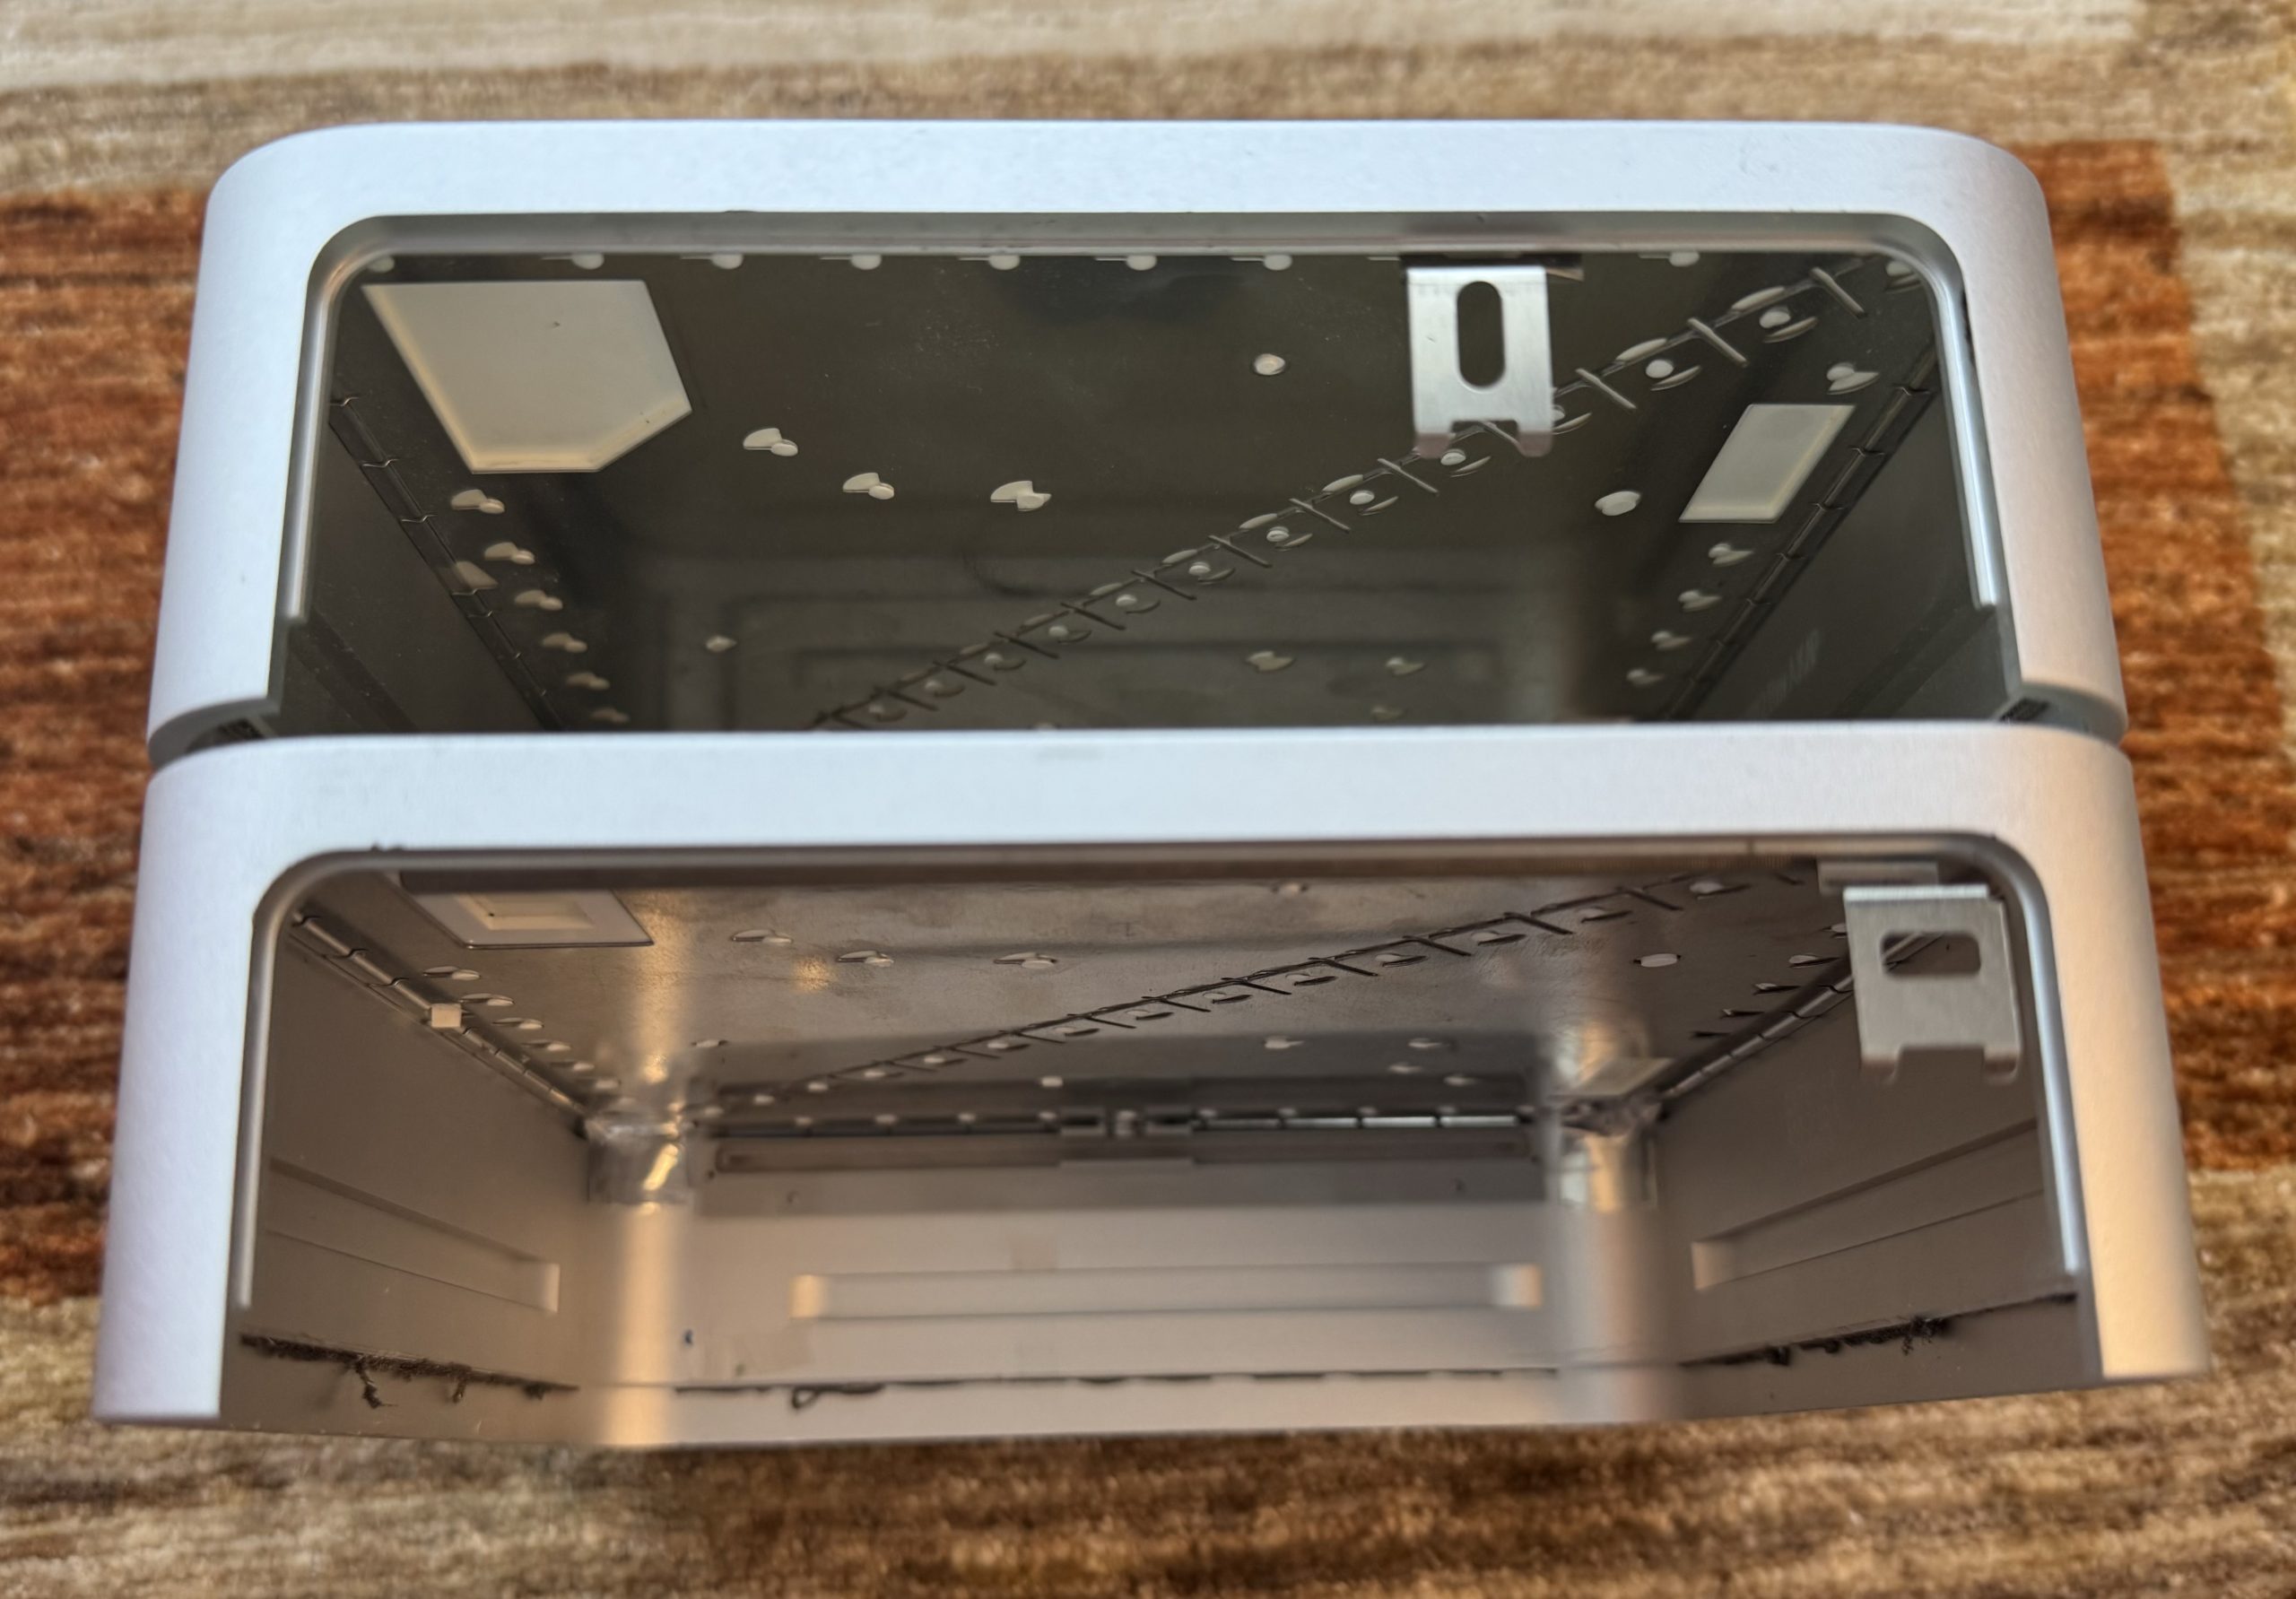
Separating the plastic lid from the aluminum housing was pretty easy. I used a wire cutter to snip off the plastic alignment pins on the outer edges; I kept the ones diagonally across the center intact. Once I did that, the metallic sheet slid out. I did the same on an A1283 I bought for $20, which sold as-is. The two plastic tops aren’t exactly the same, and I had to cut off about 6 alignment pins for the A1283 plastic top to fit onto the A1103 housing.
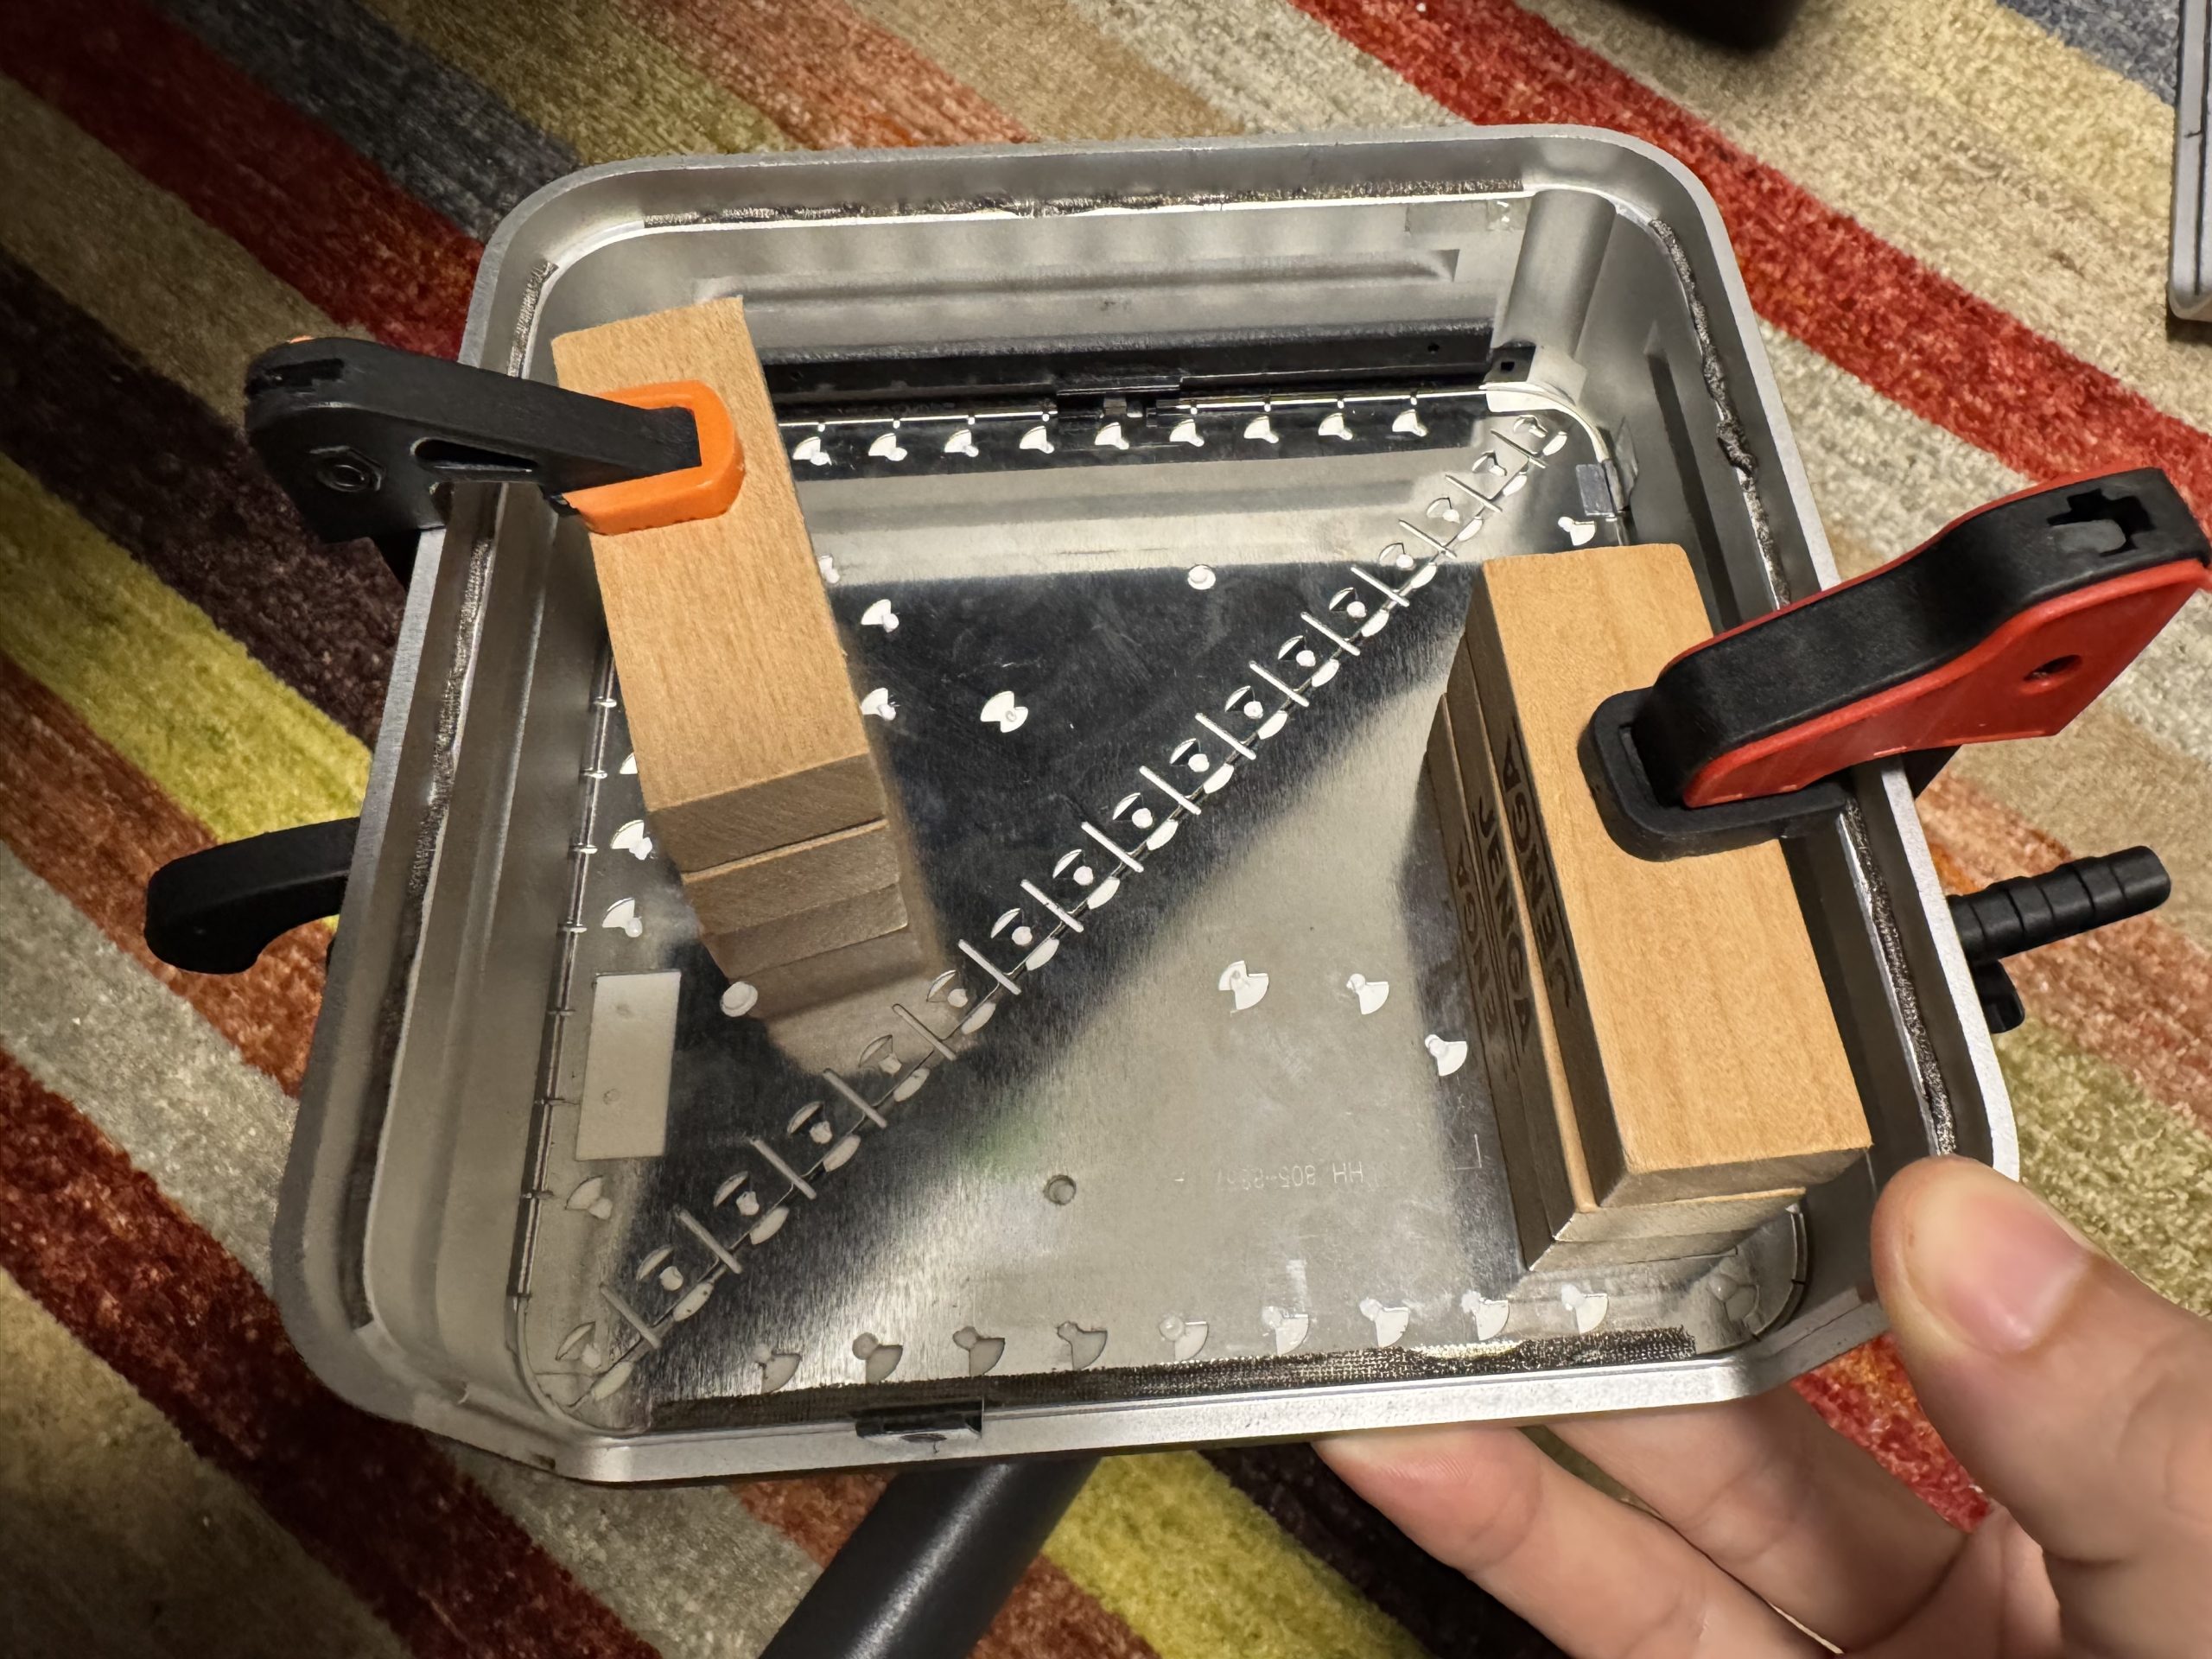
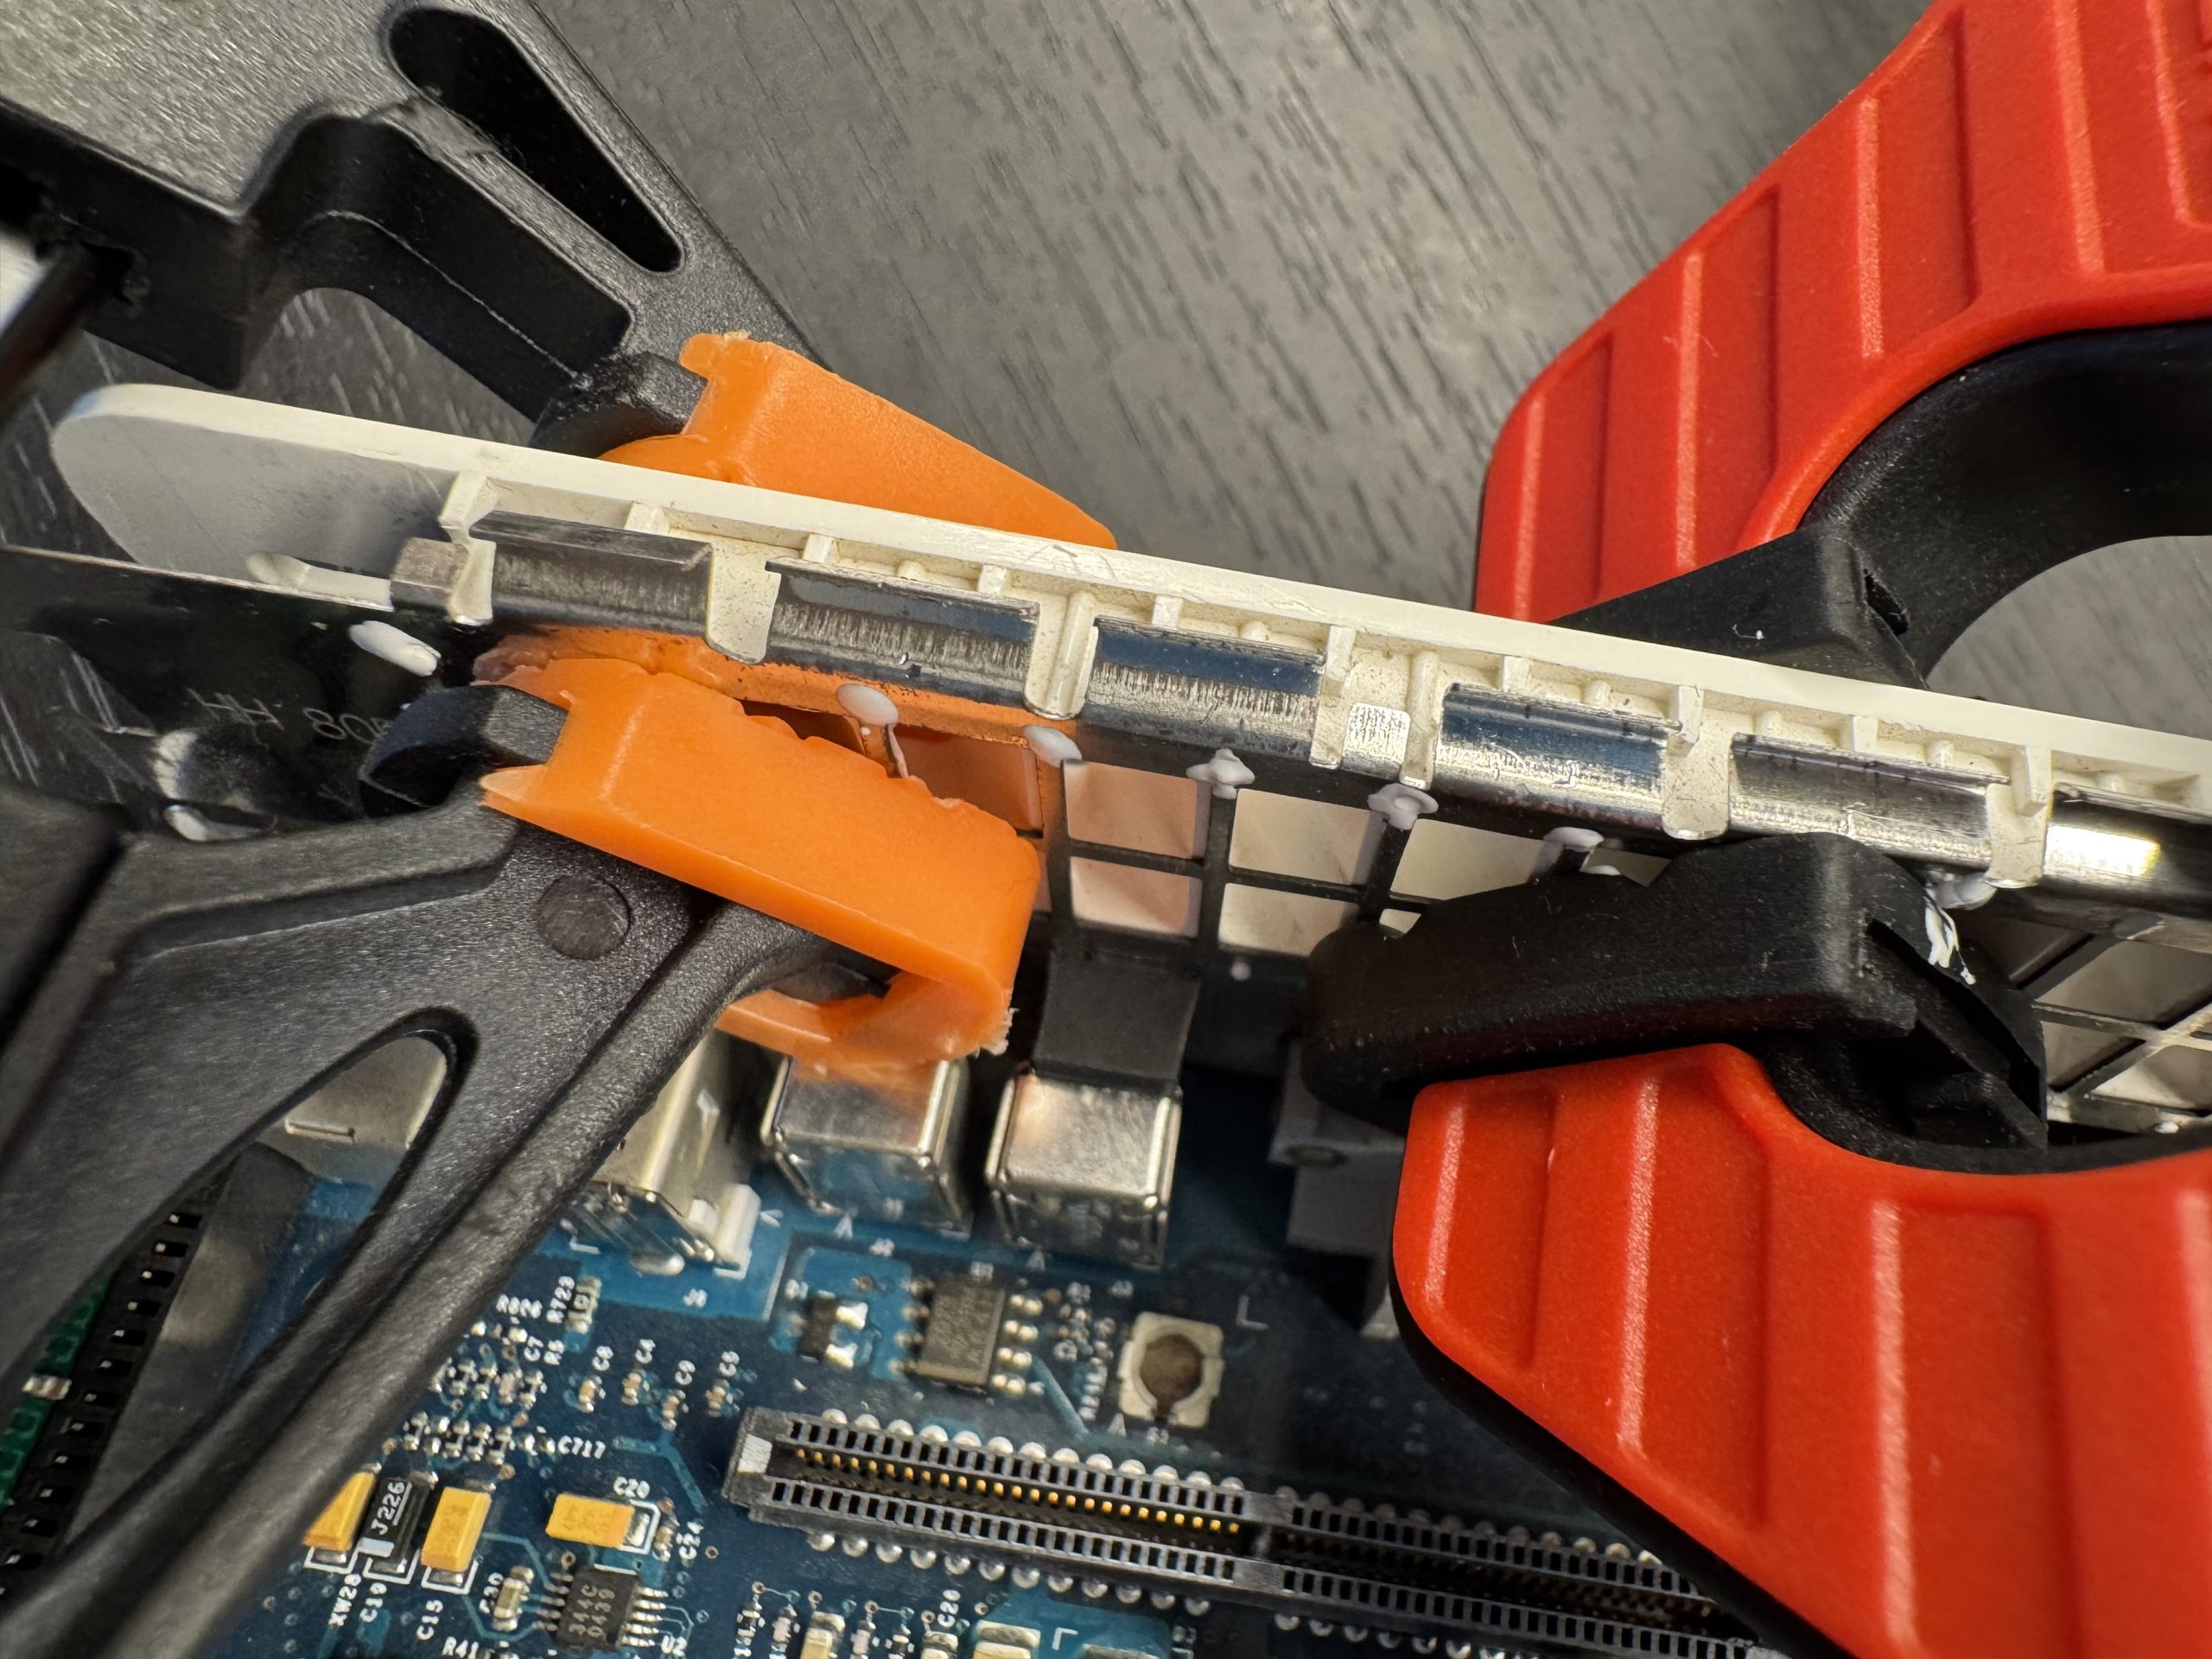
From here, I used white epoxy adhesive to reattach the metal plate by repairing the snipped off pins with dots of epoxy. I used claps to hold the metal plates to the plastic while the epoxy set. After an hour, when the epoxy wasn’t fully set yet, I pressed down on the epoxy to spread the dots out a bit.
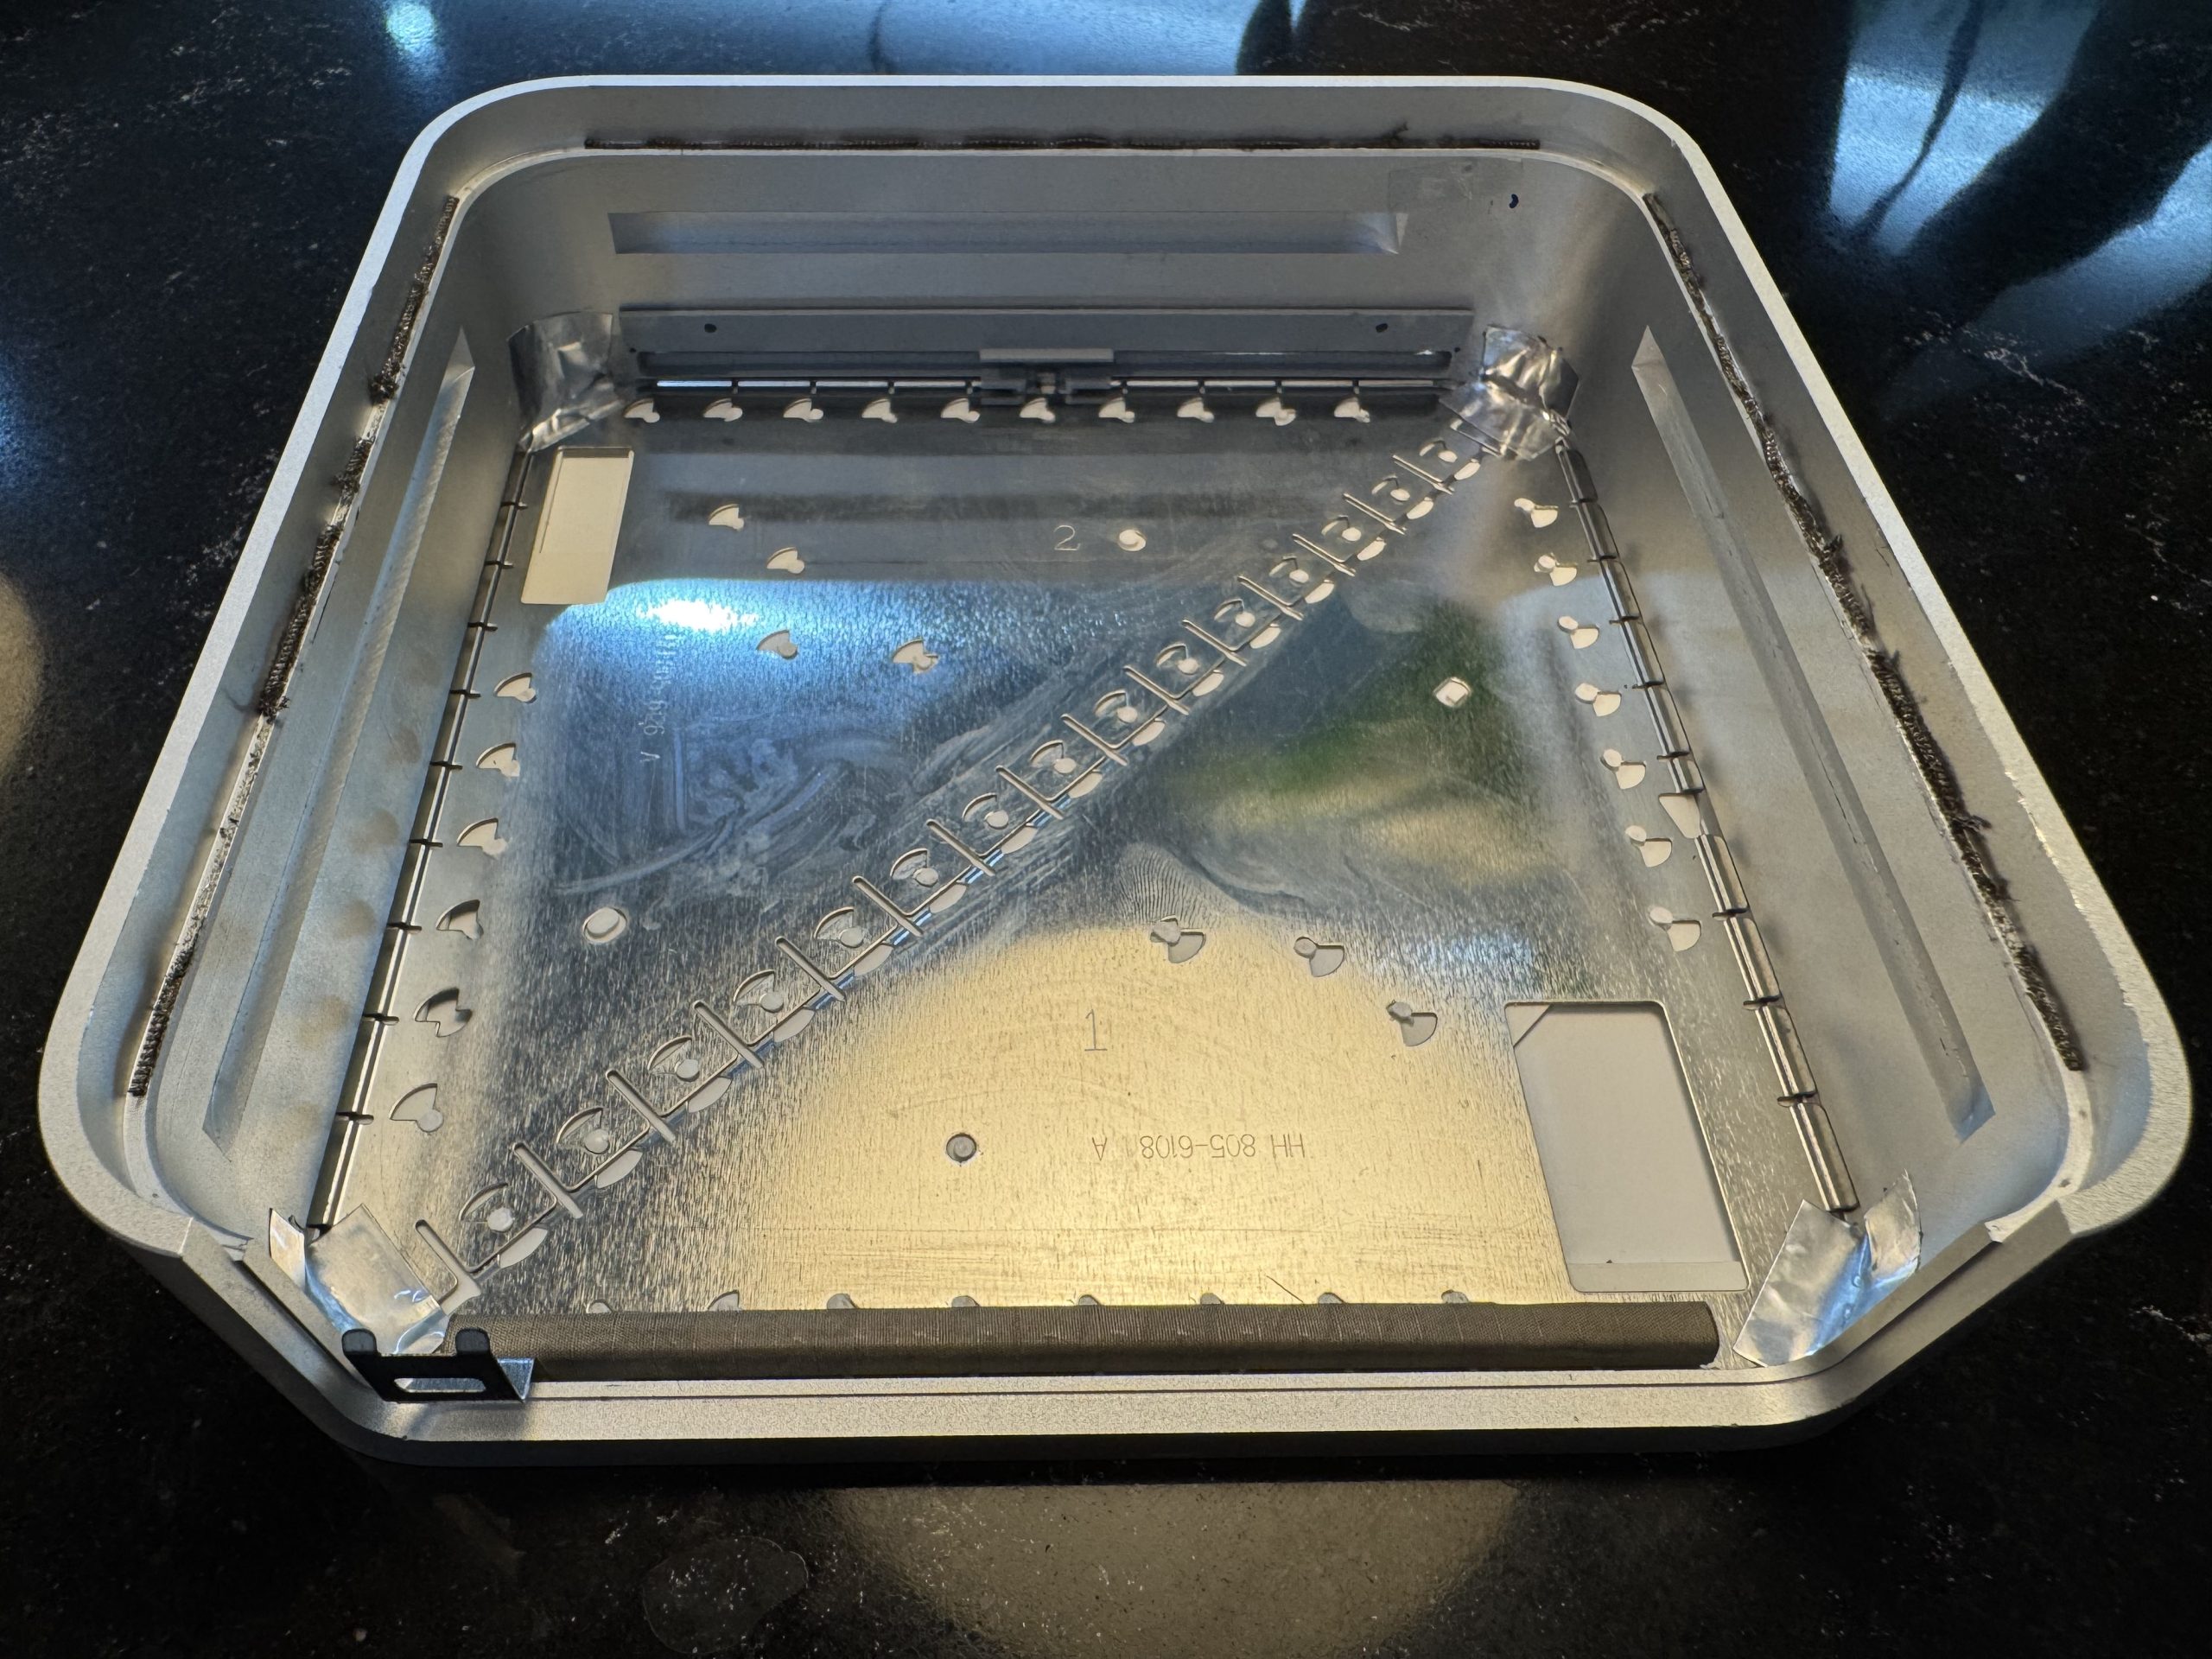 |  |
Above is the final result shown from the inside, ended up looking great.
The rear and bottom plastic casing is also prone to some yellowing. For this, traditional retrobrite methods can be used, but I opted to leave the plastic case out in direct sunlight for 3 days. This was enough to brighten the color of the casing to look white again.
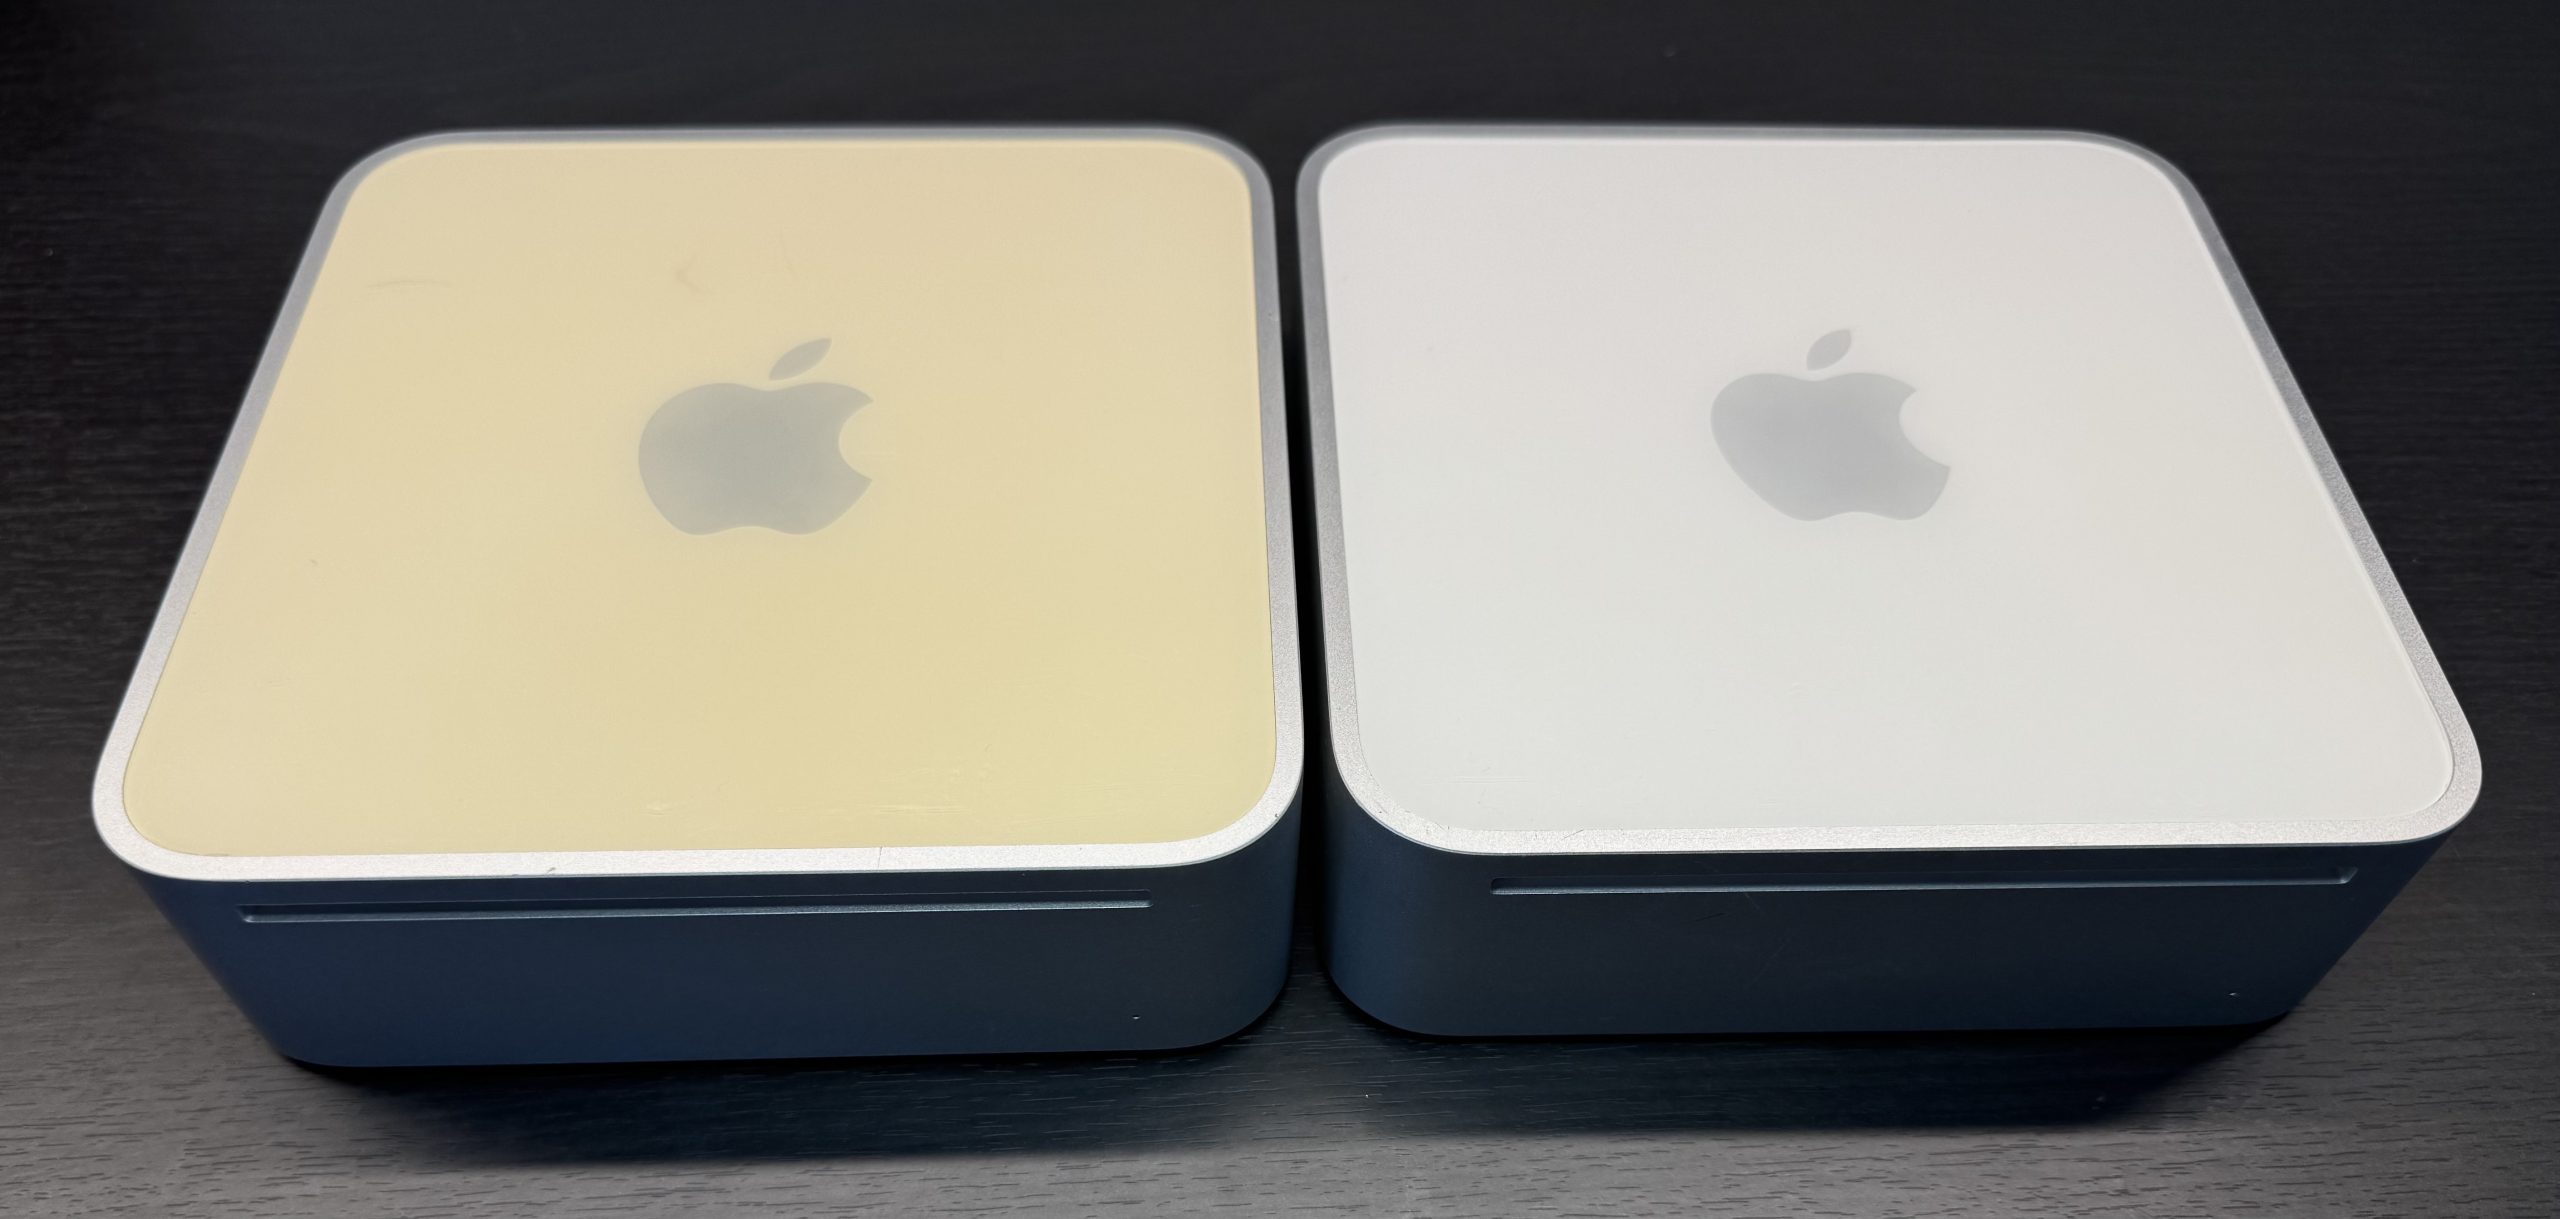
The last picture shows two A1103 units, the one on the right is the one which had its lid replaced. A stark compaison.
Re-Applying Thermal Paste
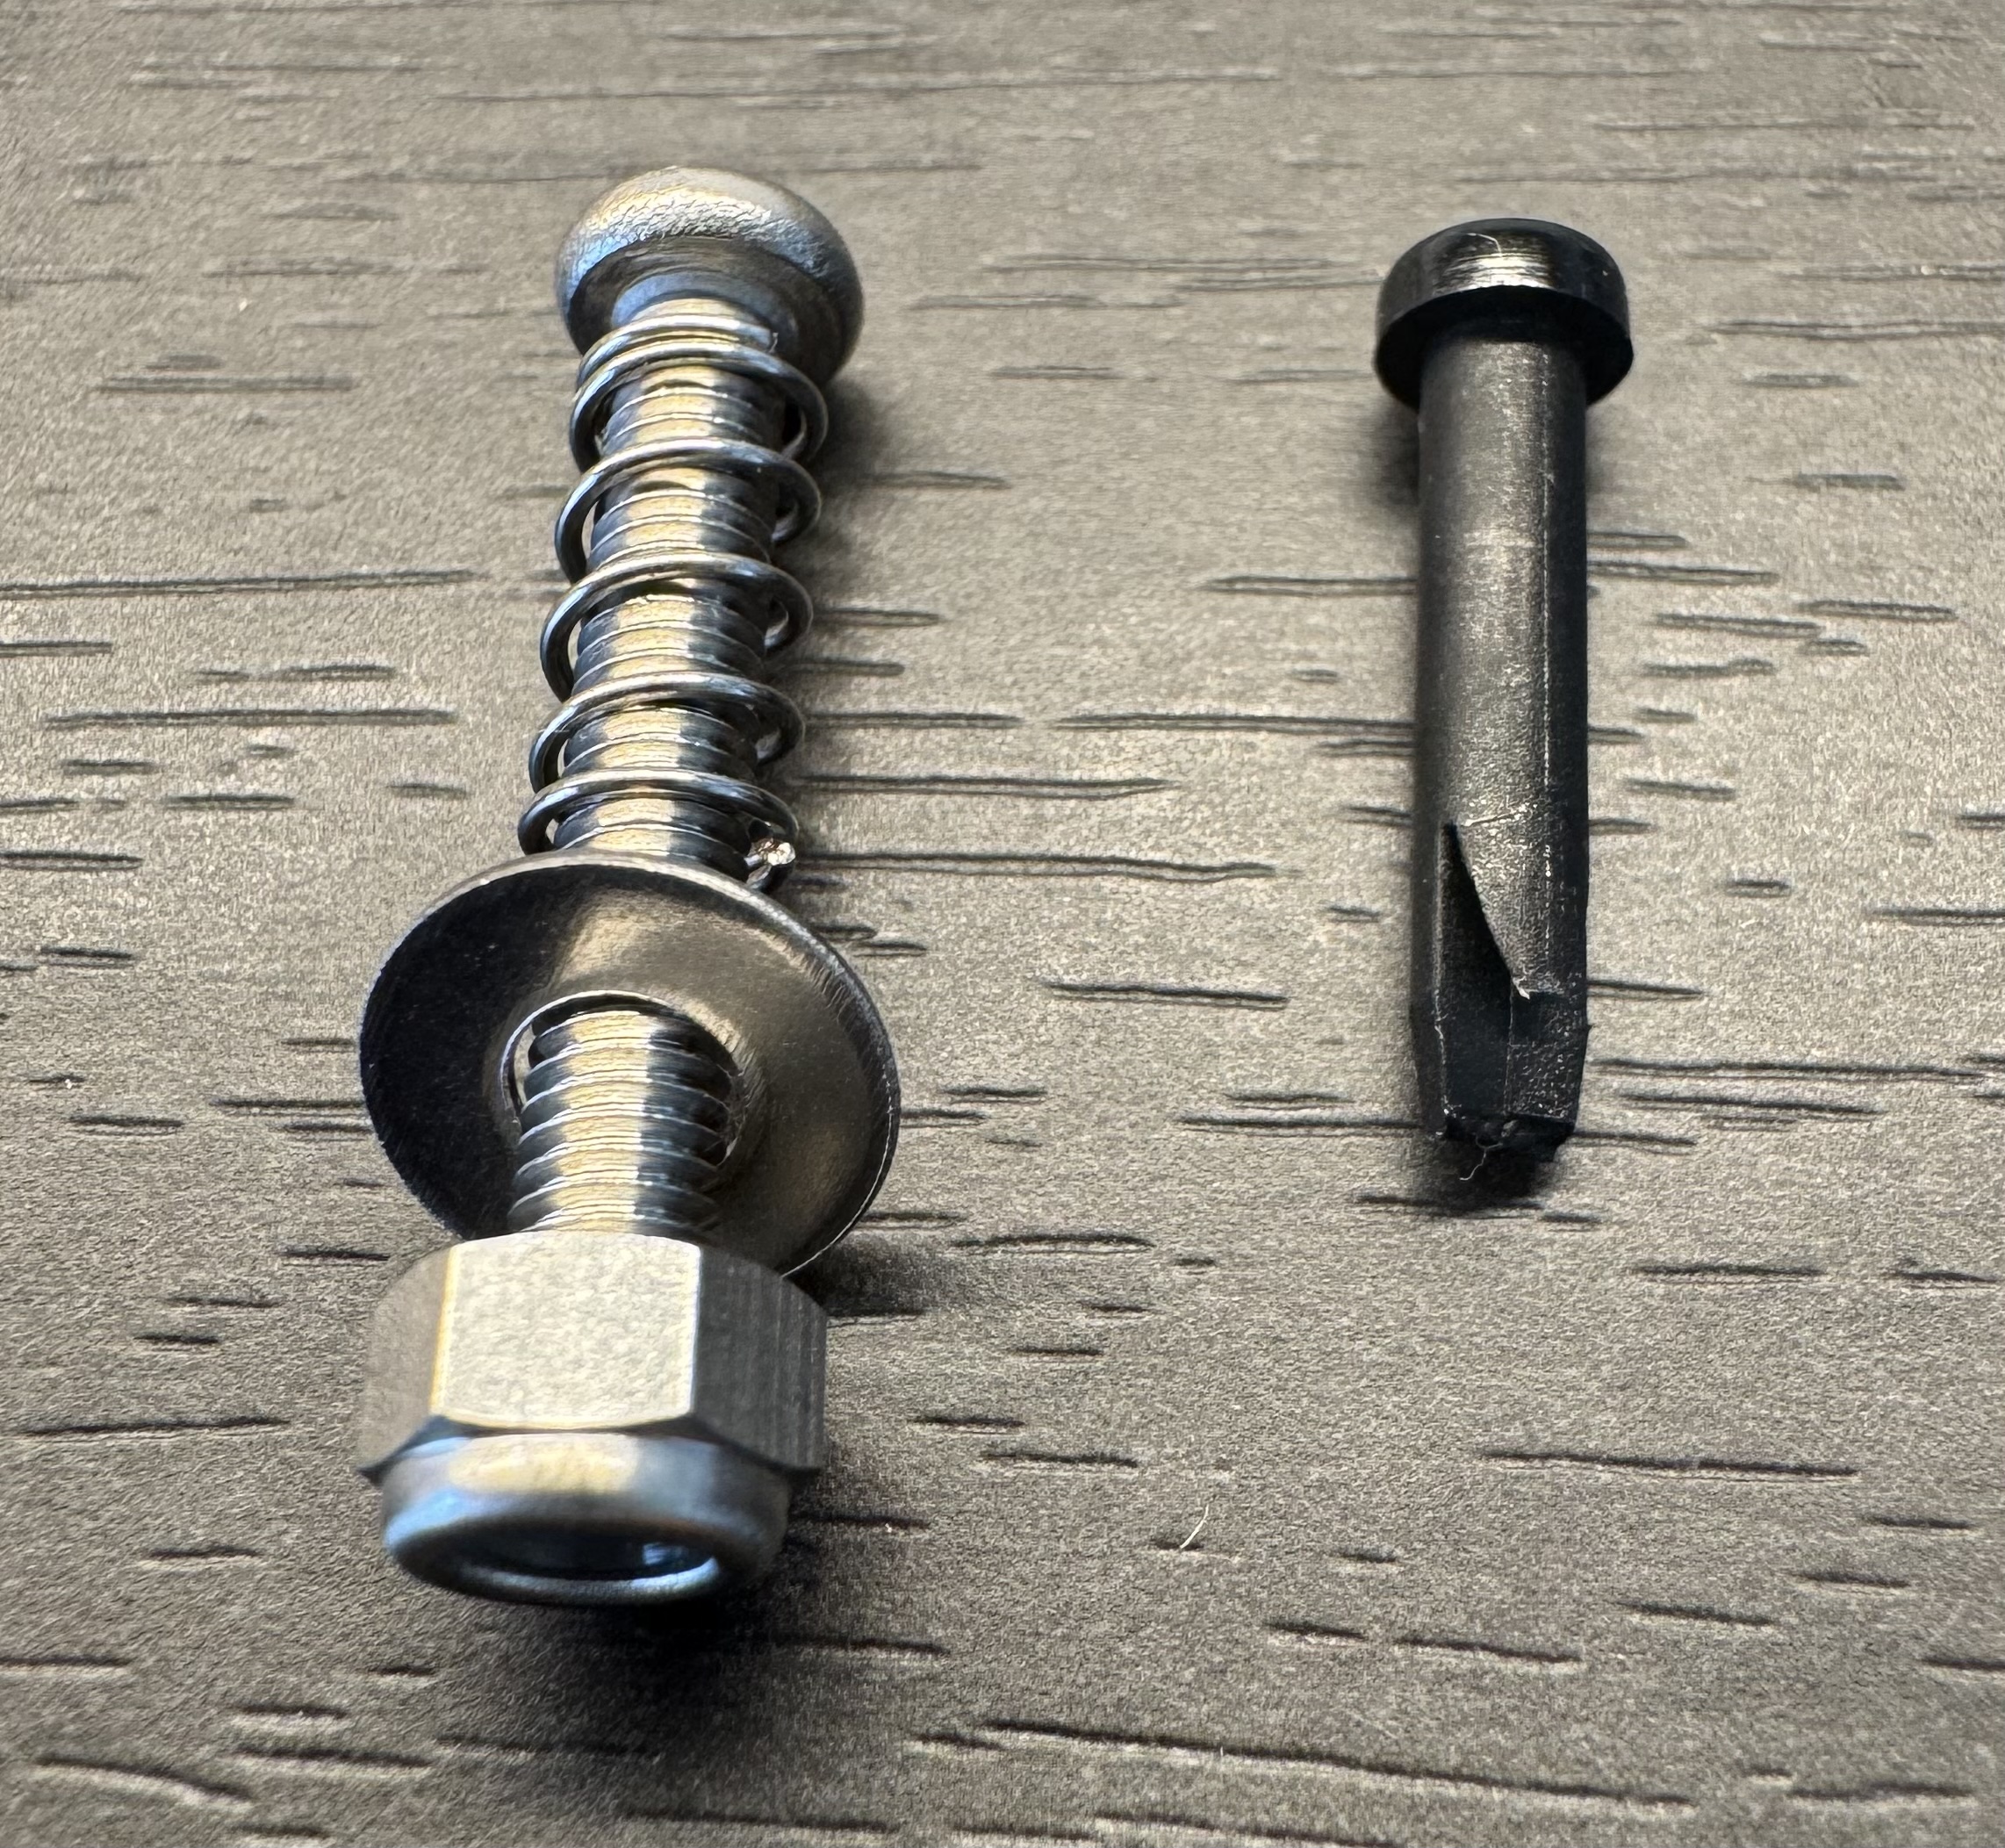
Since this units are about 20 years now, they could use some new thermal paste to keep the CPU running cool. While I was reapplying the thermal paste, the plastic pin that held the heatsink in place broke. Since a replacement pin is not easily available, I decided to replace all 4 plastic pins with metallic screws. M3 screws fit perfectly though the hole. I used a nylon locking nut to make sure that the nut wouldn’t slide off over the years from the vibration of the fan.
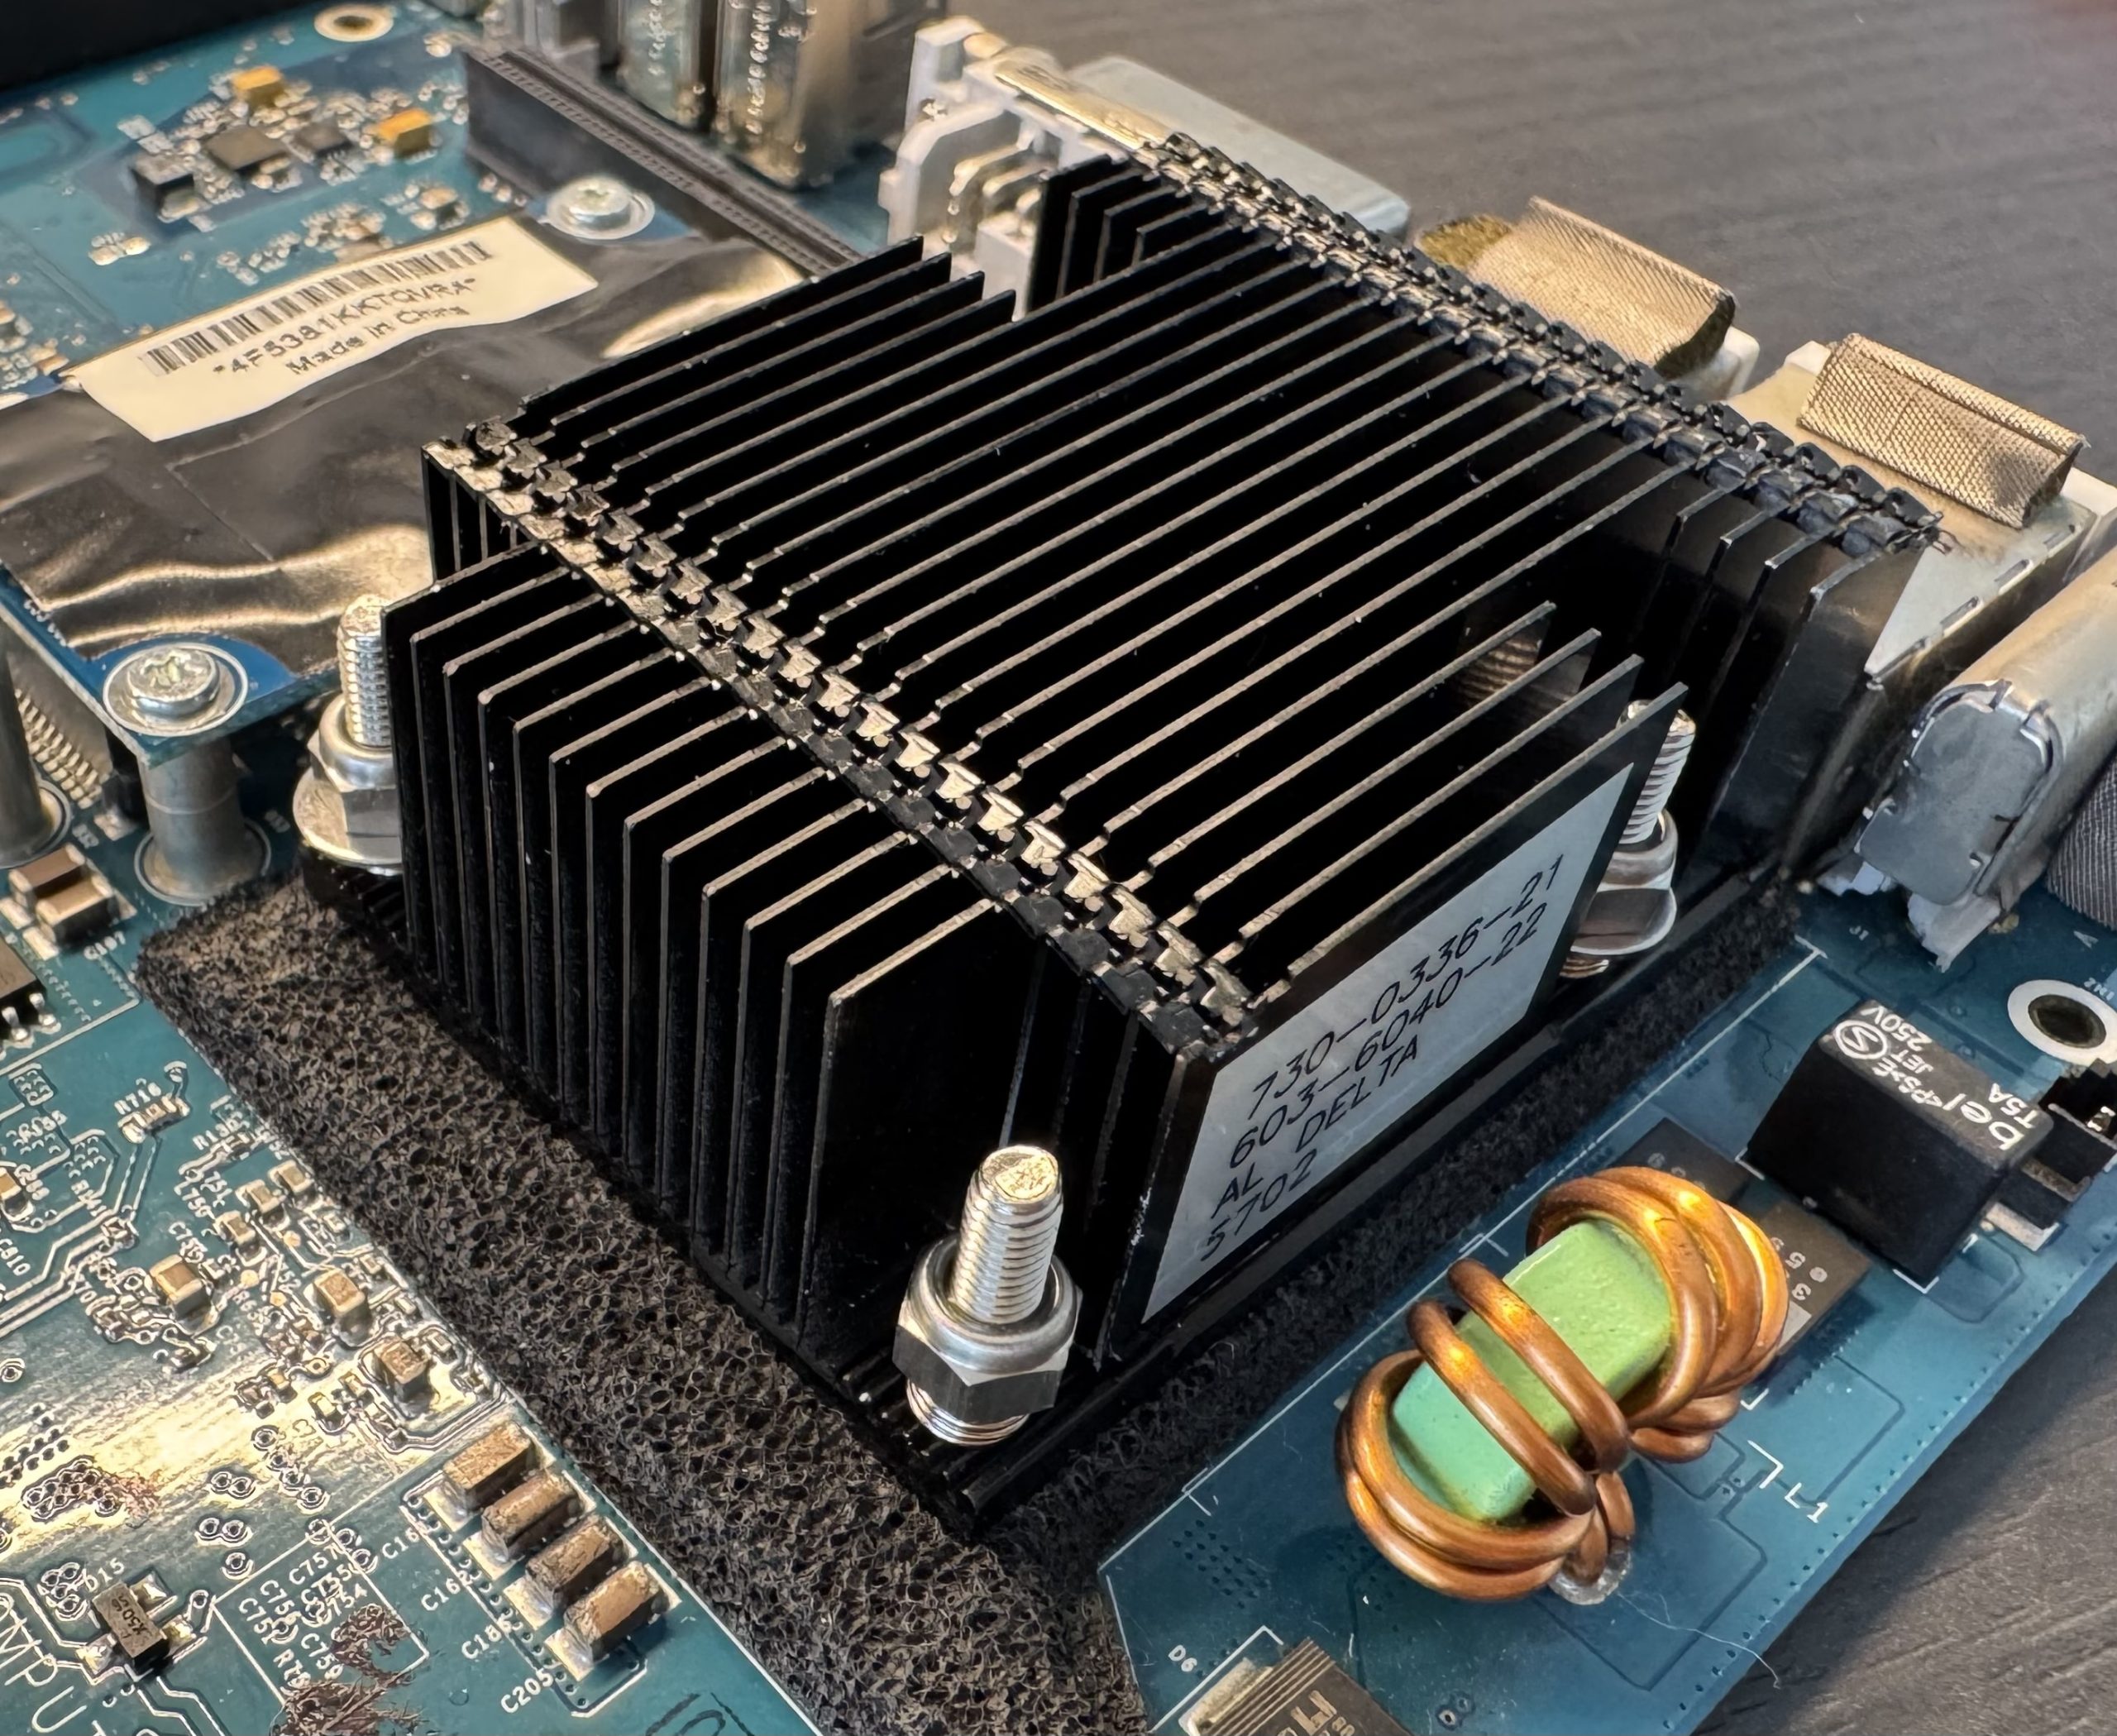
Using screws allowed me press the heatsink down a bit tighter for better heat transfer from the CPU to the heatsink. One important thing to note here is that all 4 screws should be screwed in same amount to ensure same pressure on all 4 corners. If one side is pulls the heatsink significantly more, then the heatsink could sit off-balance on the CPU.
Storage: M.2 vs mSATA
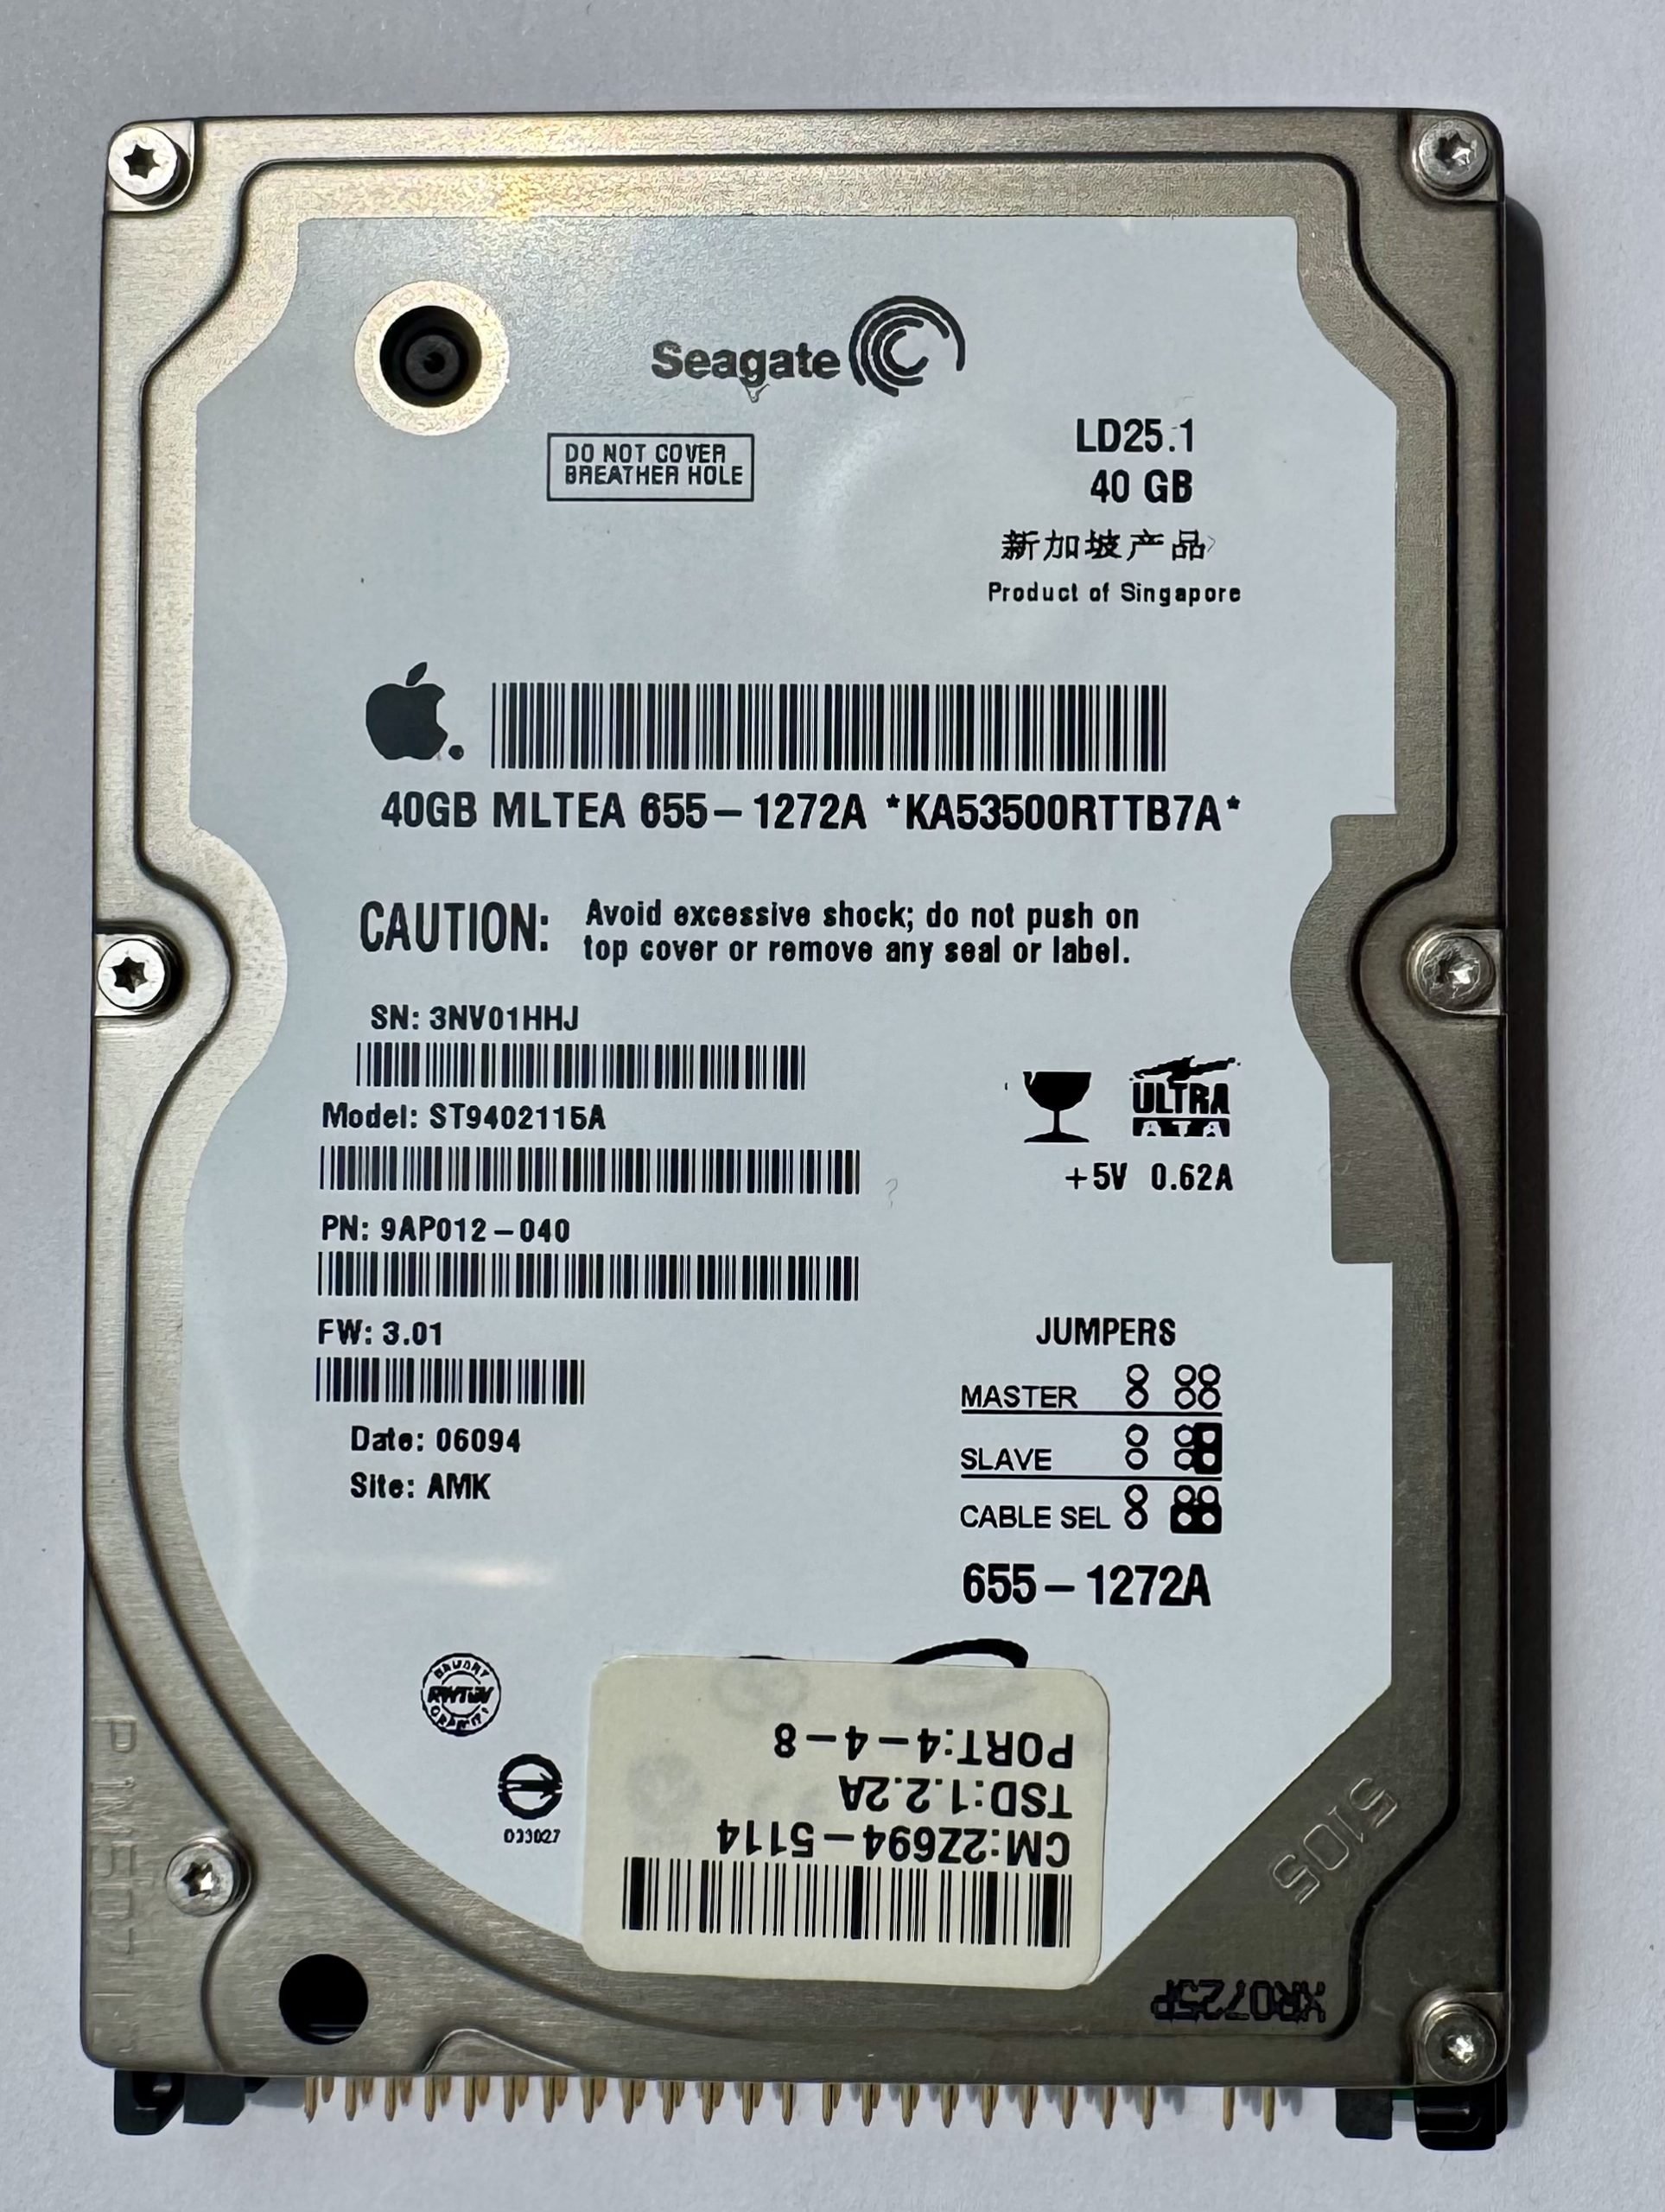
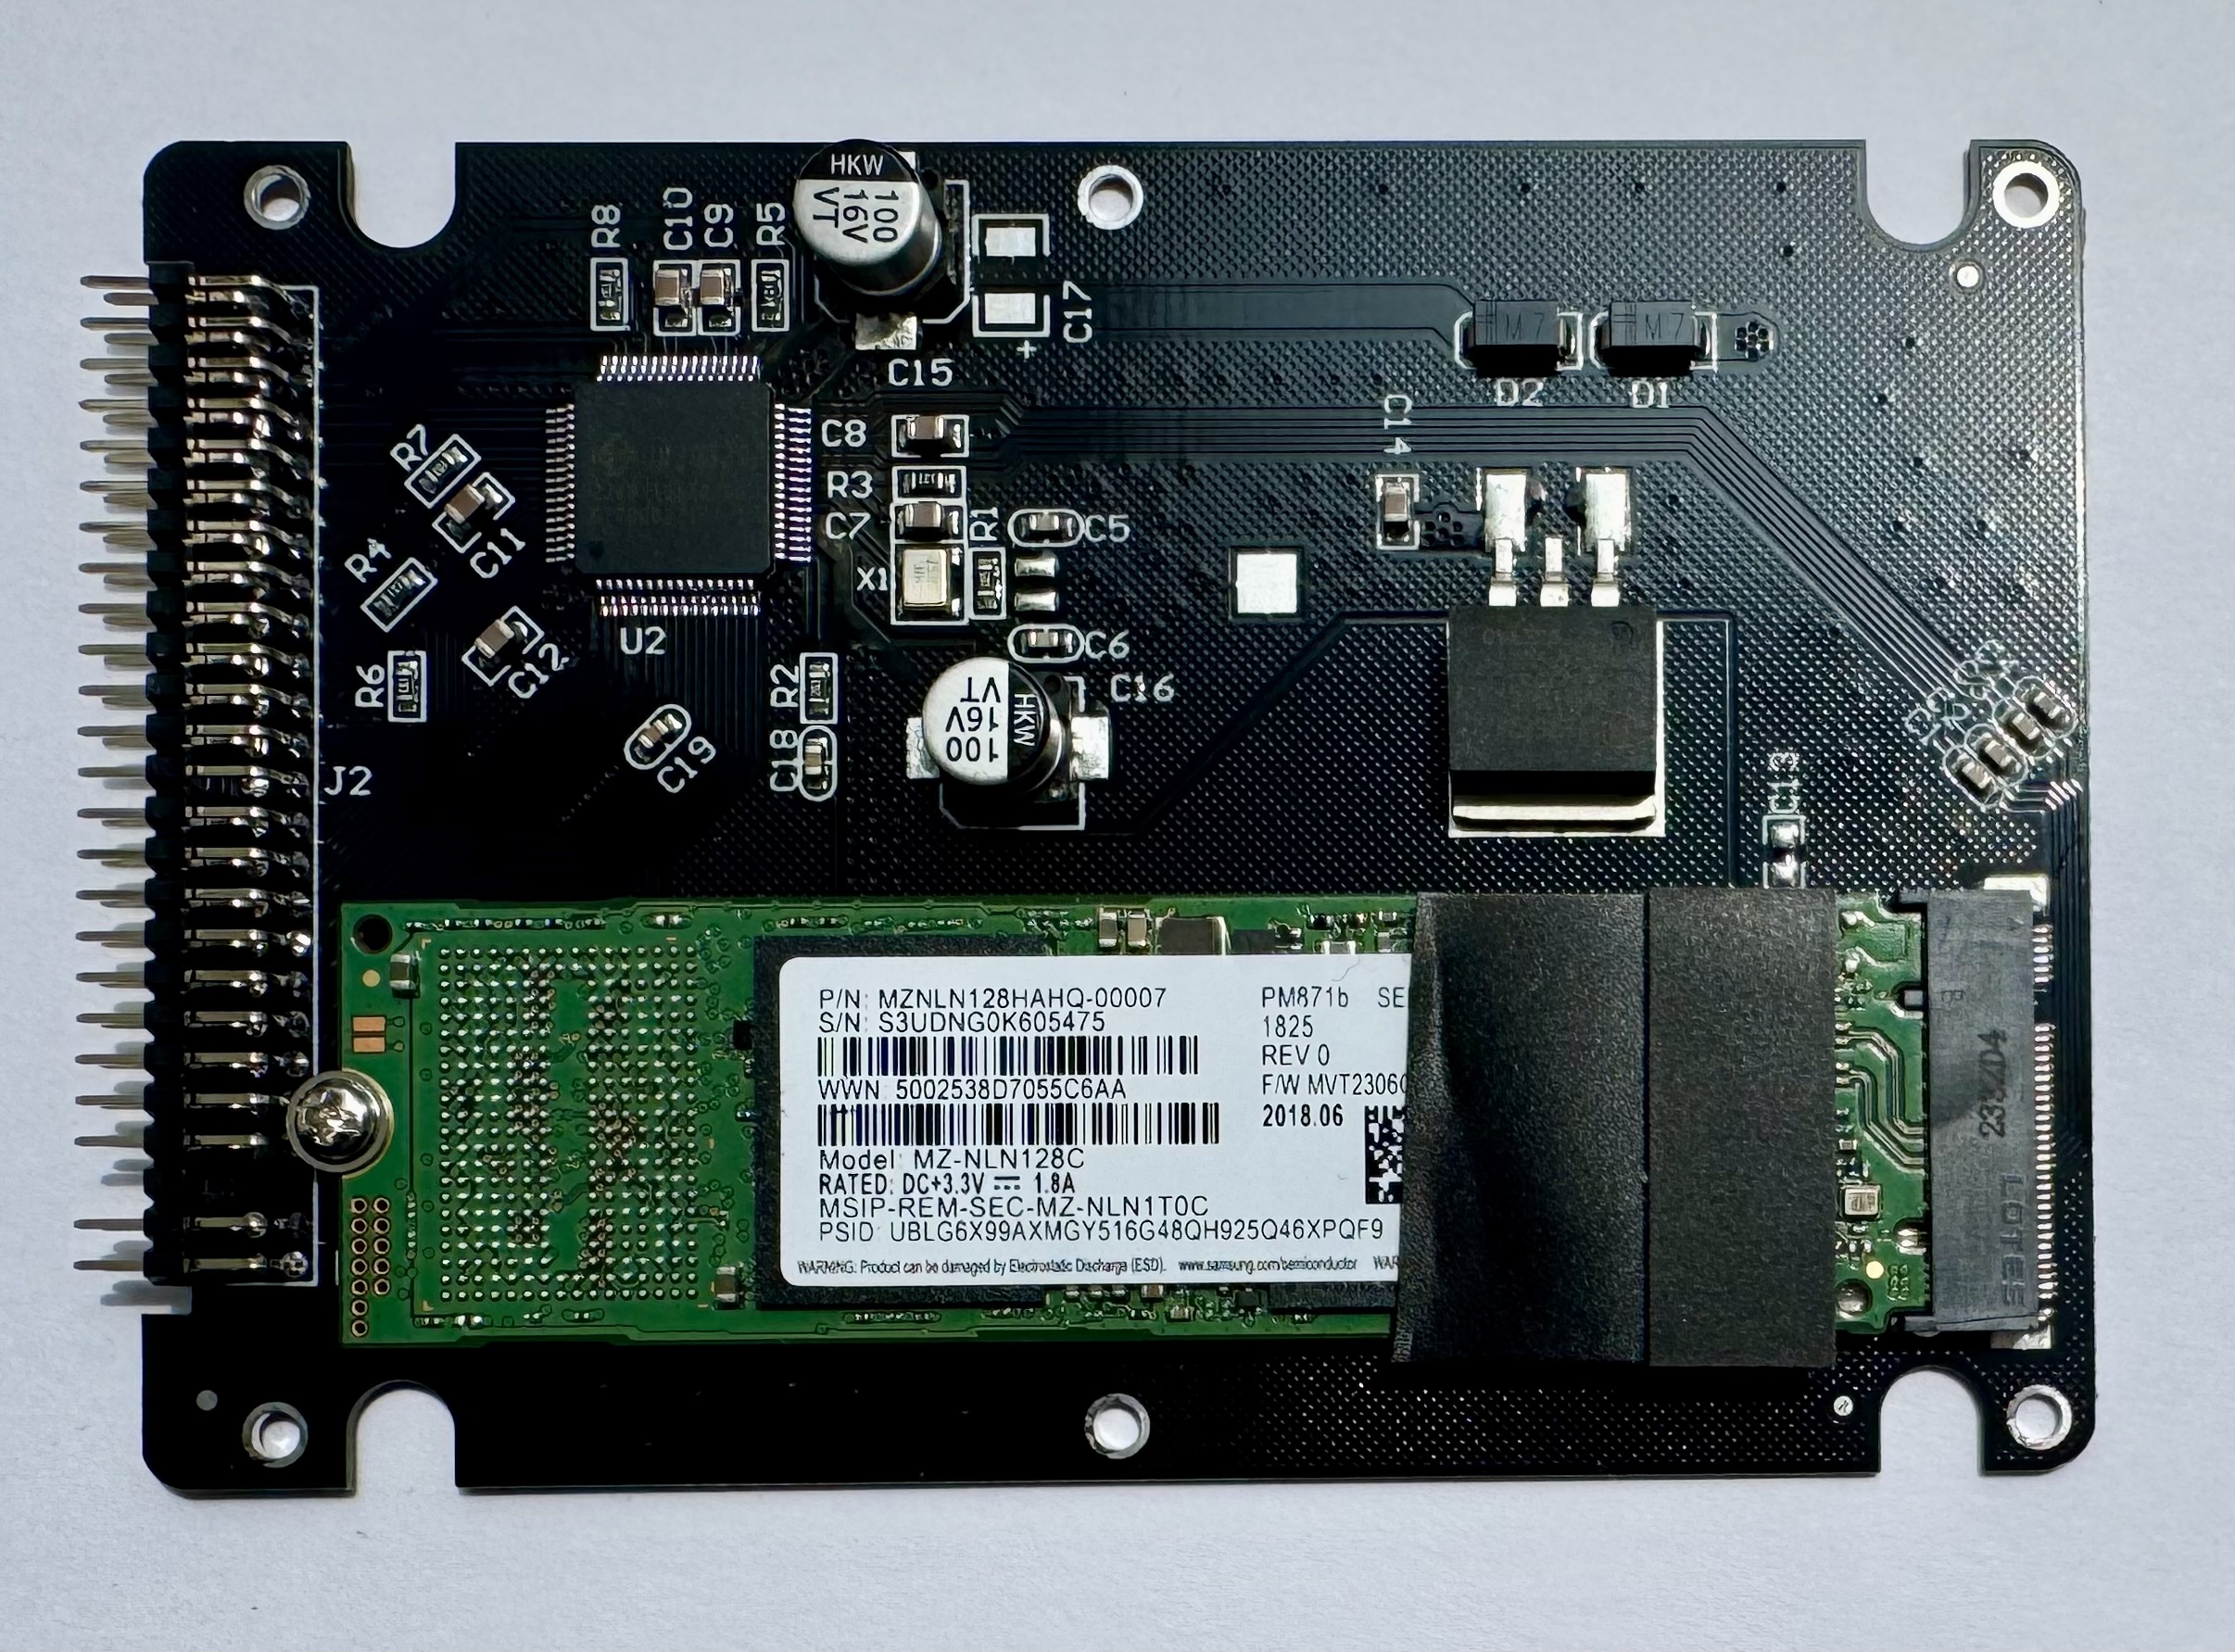
The A1103 Mac Mini came with a 40GB IDE hard drive; mine had a Seagate 5400 RPM ST9402115A. Two modern high-speed, low-cost alternatives are available: an M.2 to IDE adapter and an mSATA to IDE adapter.
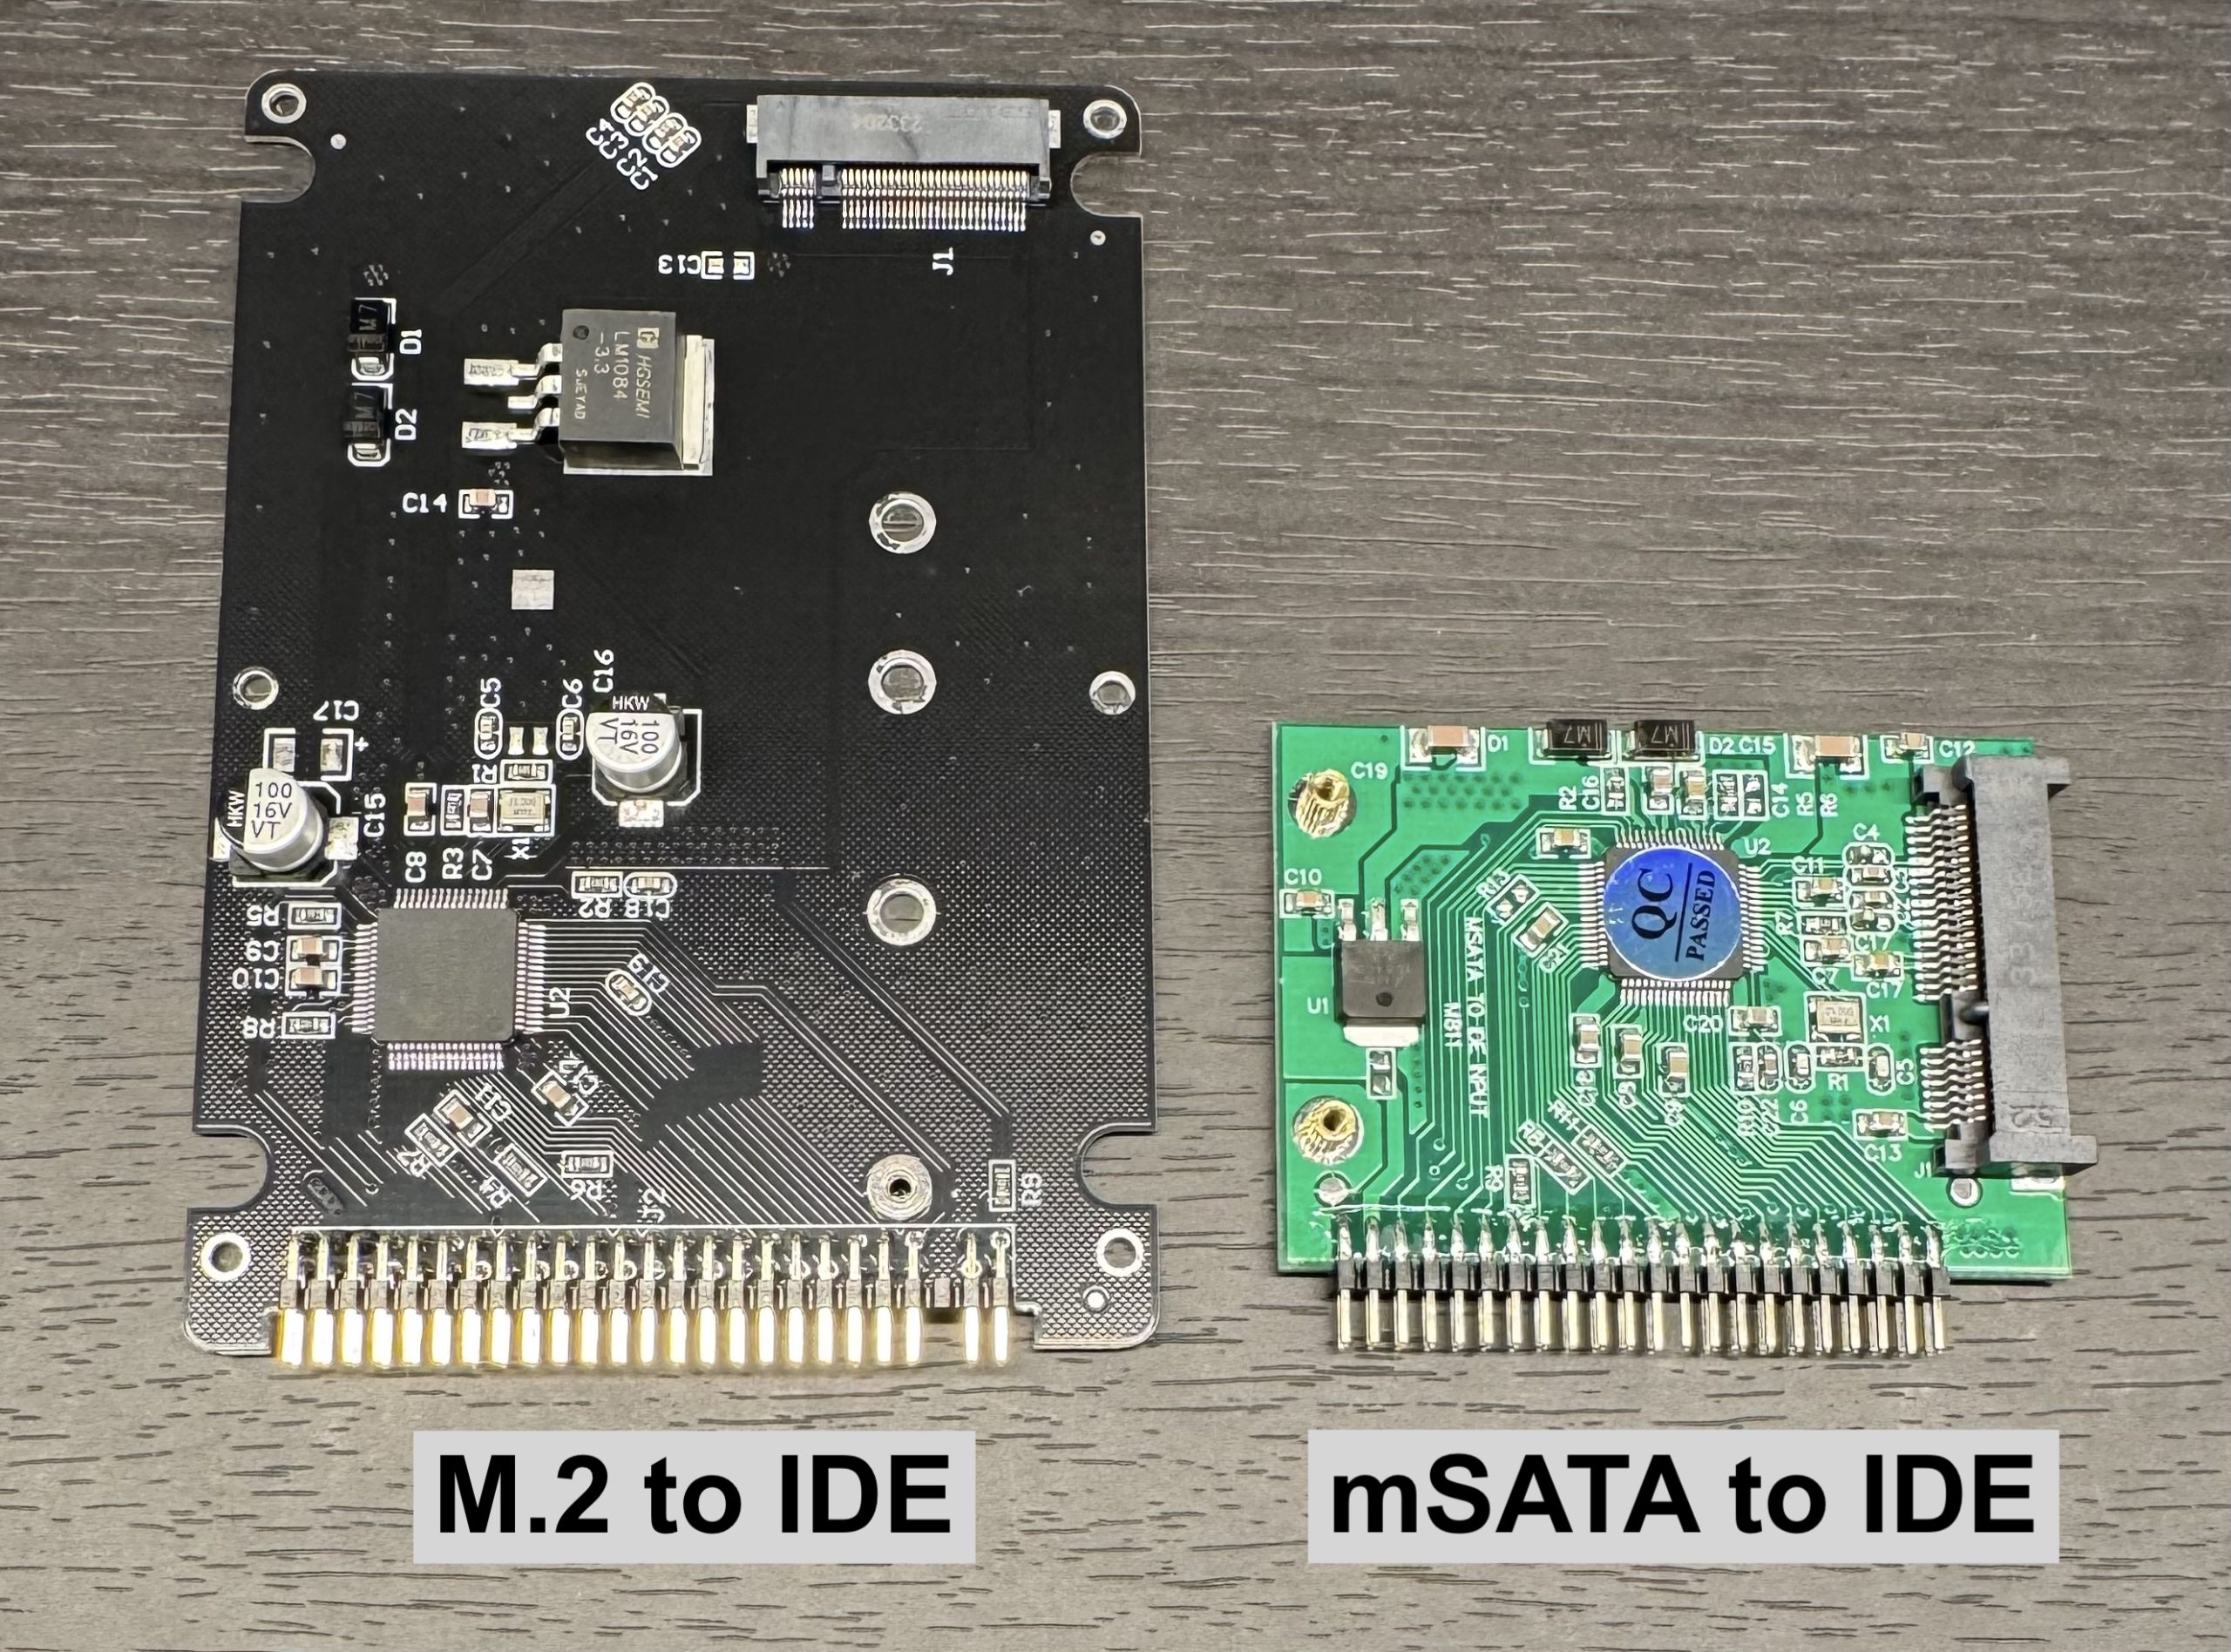
The Ultra-ATA/100 port is capped at a 100MB/second. In theory, it shouldn’t matter if we use an M.2 or mSATA as they both easily surpass this threshold. However I wanted to put this to the test and verify if one had an advantage over the other. The mSATA adapter is lighter and has a smaller footprint so it has that advantage from the physical layout.

To evaluate the drive speed, I used Xbench v1.3, available on their website.
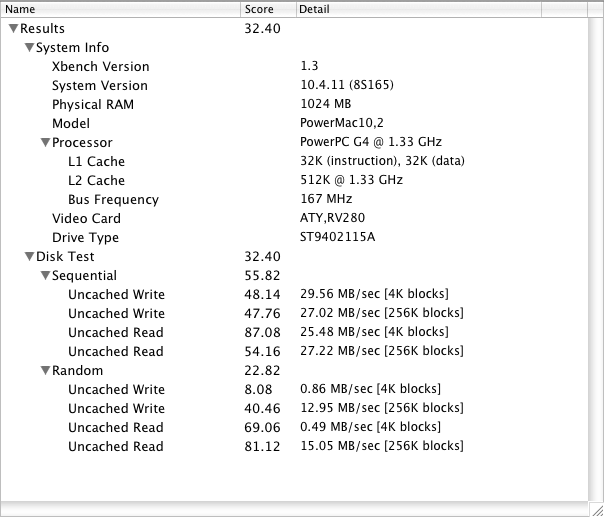
Overal Score: 32

Overal Score: 187
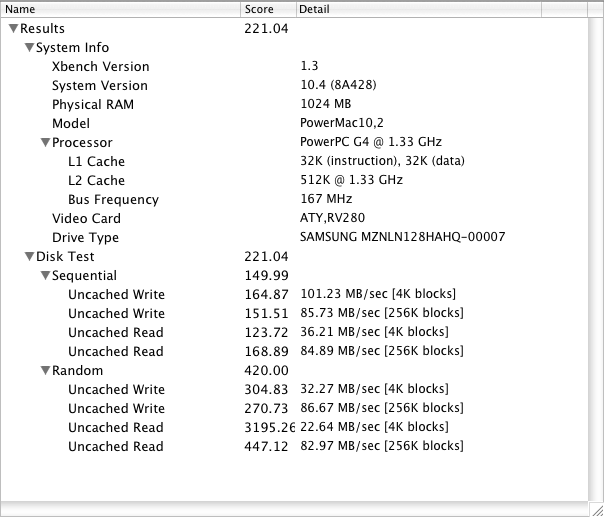
Overal Score: 221
Surprisingly, the results do show that the M.2 is about 18% faster than the mSATA SSD. Therefore, in this case, it is more advantageous to use an M.2 SSD.
Note that if I used a newer mSATA, such as the Kingston KC600, the mSATA results would have been better, but that mSATA is 4 times more expensive than the one I used; both of the SSDs I used cost $10~$15 each. If I used a newer M.2, those results would be better as well. I think the takeaway here is that even though IDE is capped at 100MB/s, the quality of the mSATA or M.2 used still matters.
OS Installation
I opted to install the OS from a USB drive. To do this, first create an image of the OS from your DVD. Then write the image onto a USB stick using Disk Utility.
Plug the USB drive into the USB port closest to the DVI port. On boot, hold down keys Option+Command+O+F to boot into Open Firmware. From there type the following command to boot the image on the USB stick:
boot usb1/disk@1:1,\:tbxi

Follow the onscreen directions format and fresh install the OS on the SSD. I didn’t run into any issues with the Mac Mini detecting either the M.2 or the mSATA disk drives.
Housing Not Fitting Properly
When I tried to put the housing back onto the A1103, it wouldn’t properly close at the rear and stayed open about half a cm/inch for both of the units I have. Upon closer inspection, I noticed 3 separate issues which needed to be addressed.
 | The plastic security pins holding the back aluminum plate broke off. This was resolved by using epoxy to secure the aluminum plate in place. I used claps while I waited for the epoxy to set. |
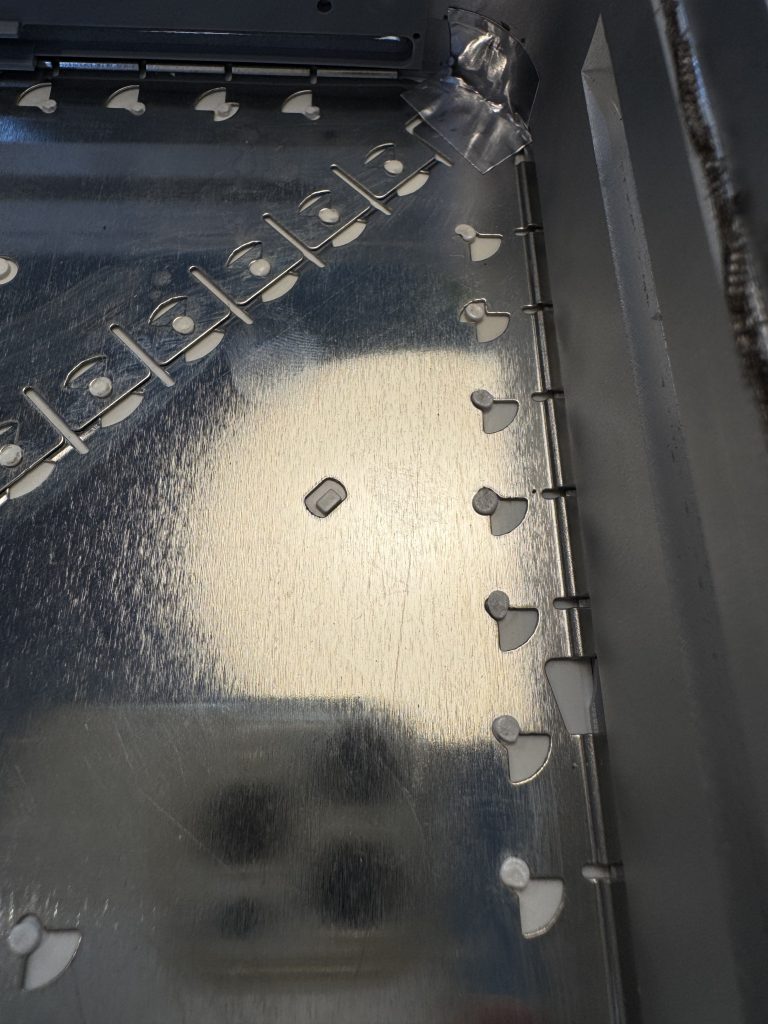
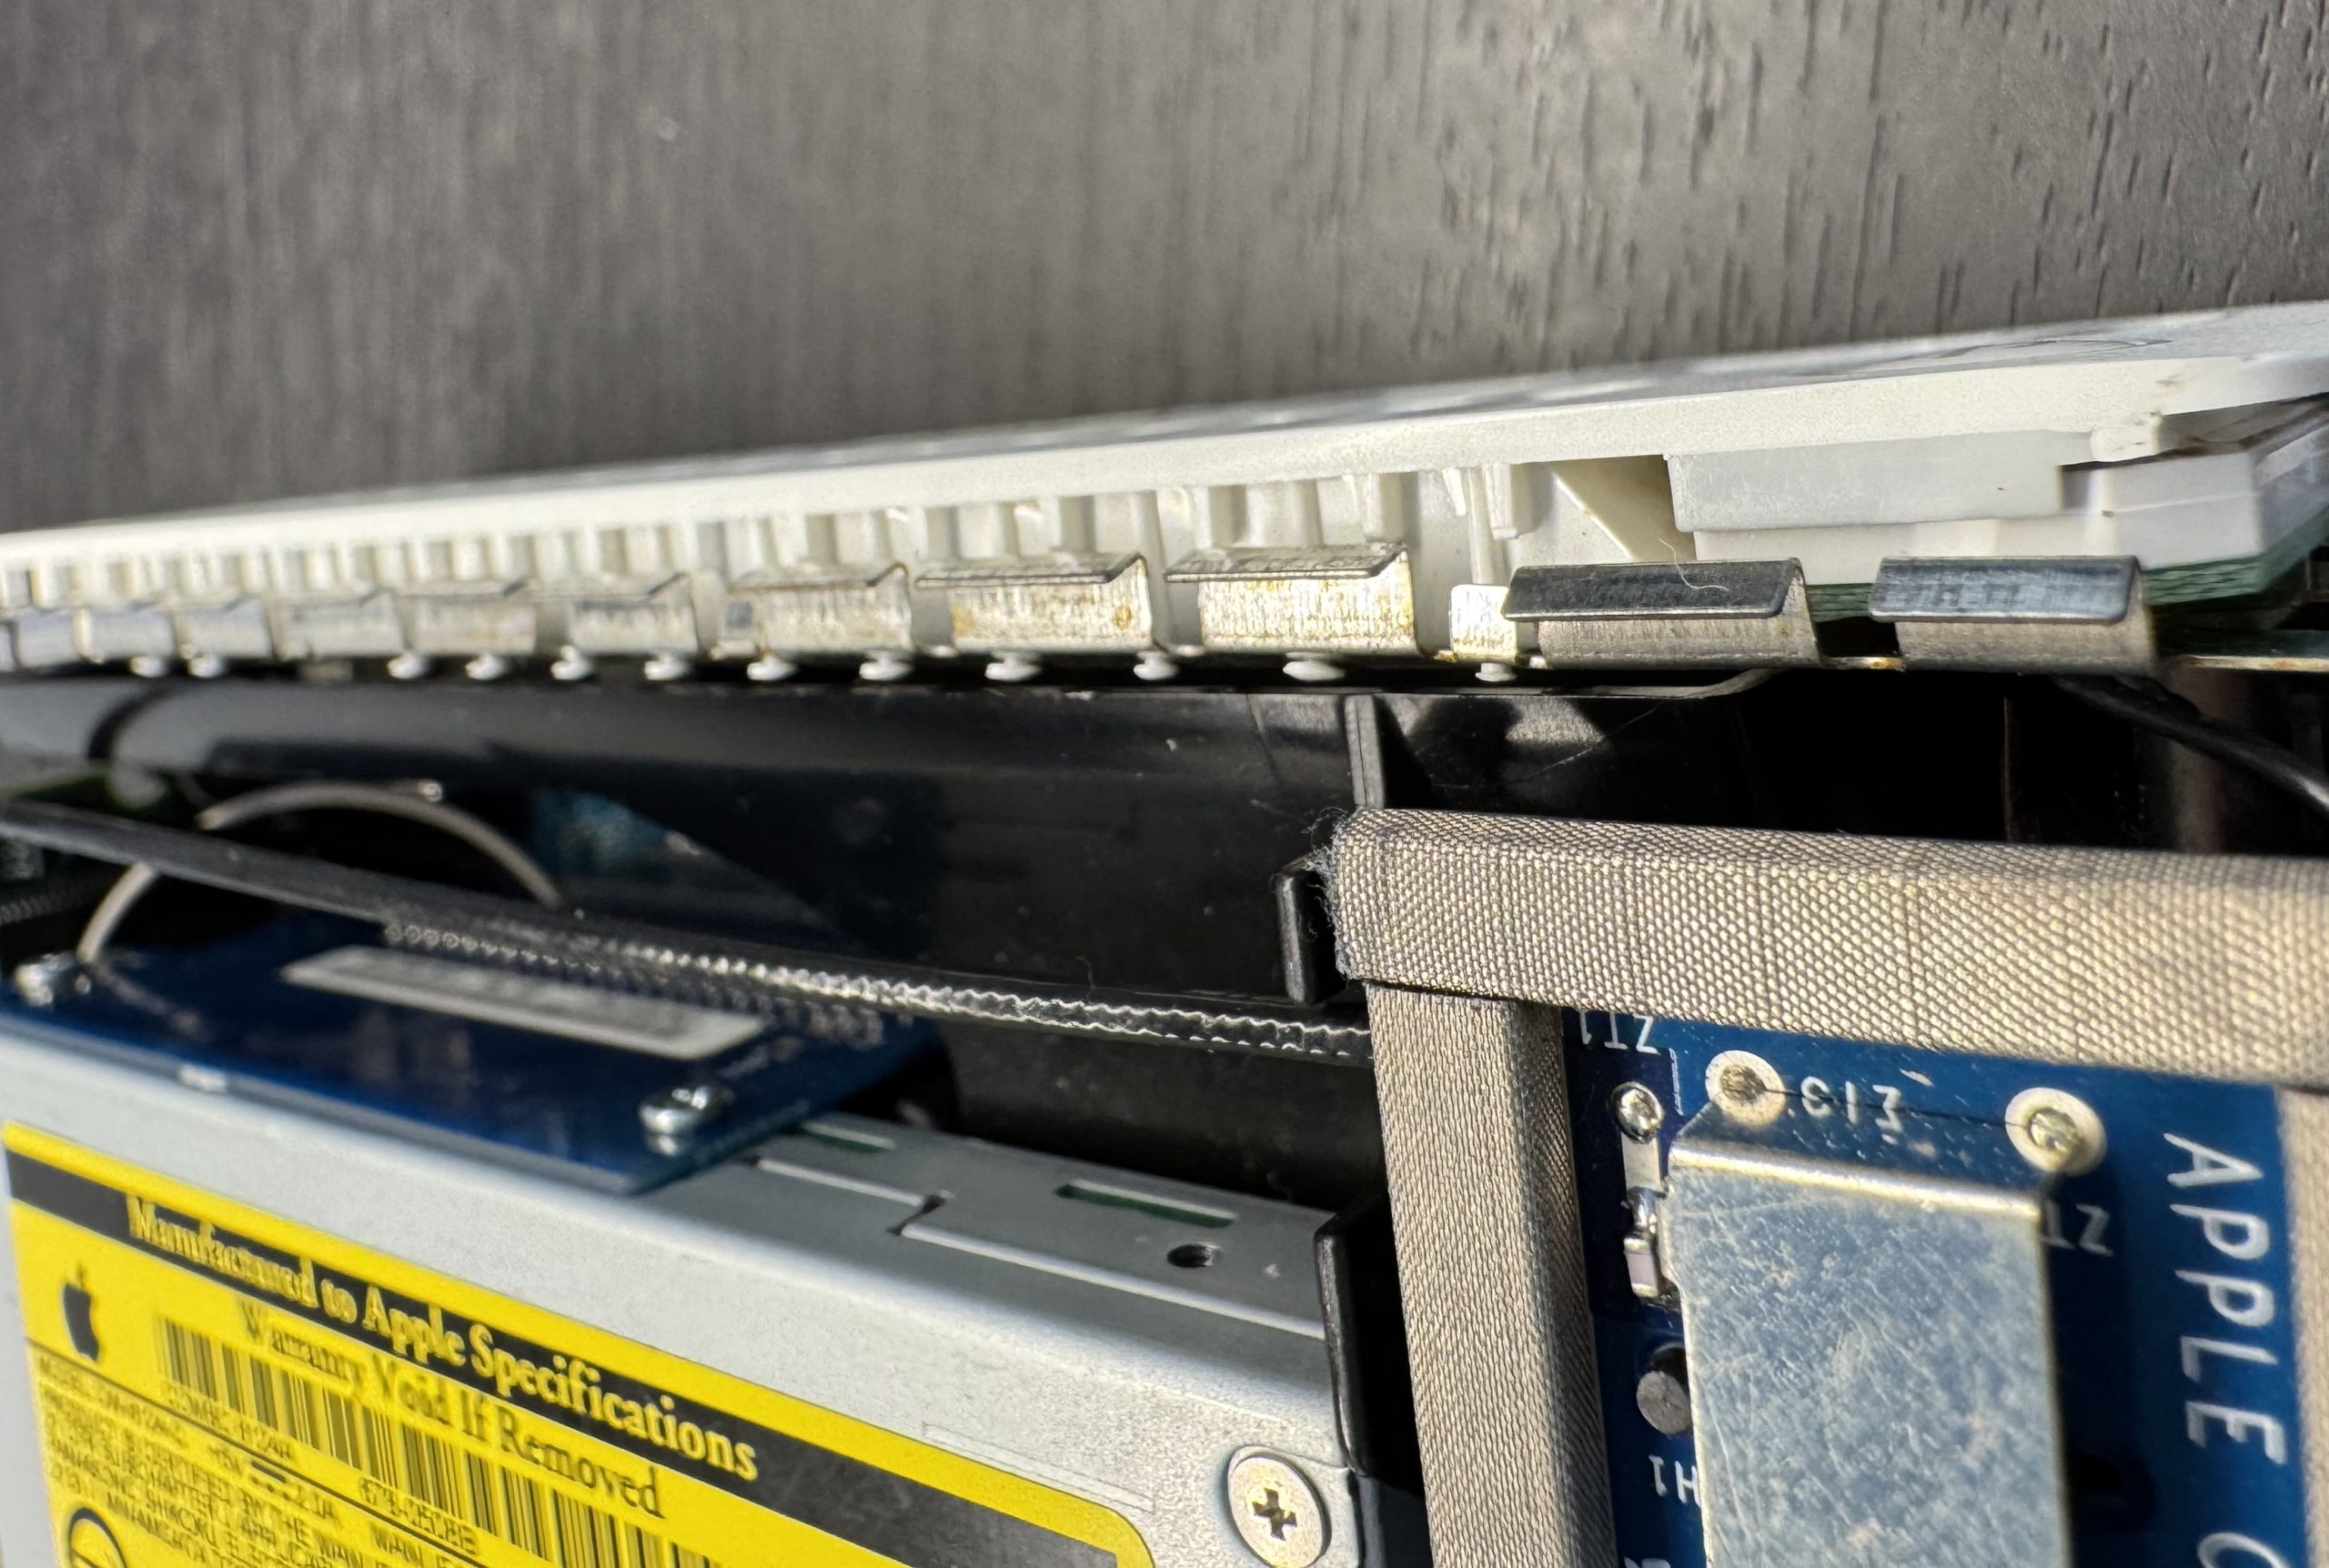 | Aluminum hooks were bent outwards, preventing them from properly clamping onto the top housing. Notice the 2 right-most hooks are not bent and are in the correct position. I was able to use a flathead screwdriver to bend the hooks back up to their original position. |
 | The metallic cushioning was bent inwards preventing the aluminum hooks from clamping on properly. Notice the bottom one in the picture is tucked upwards while the top one is in the correct position. I stretched the cushioning back into place, which allowed the housing to fit back on properly. |
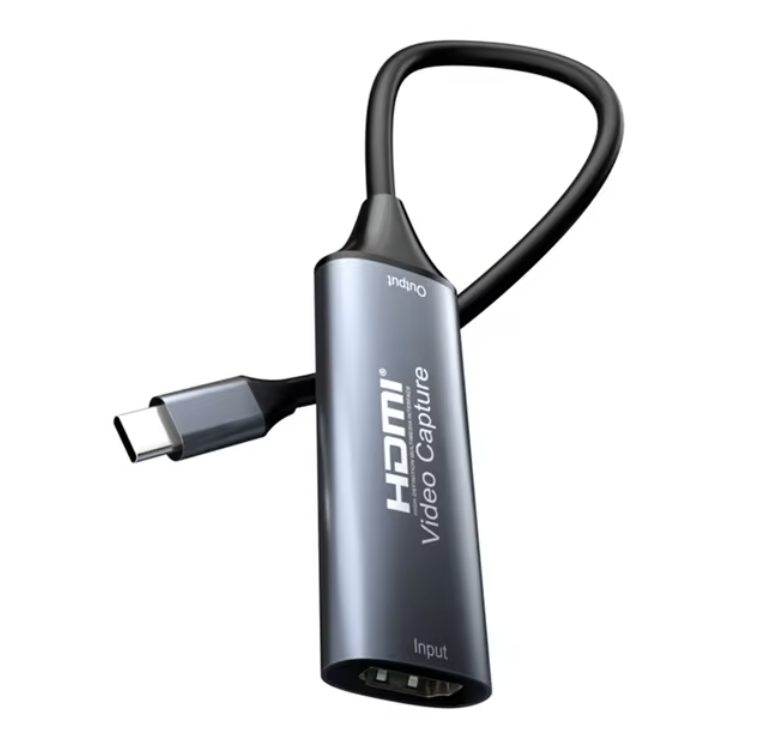
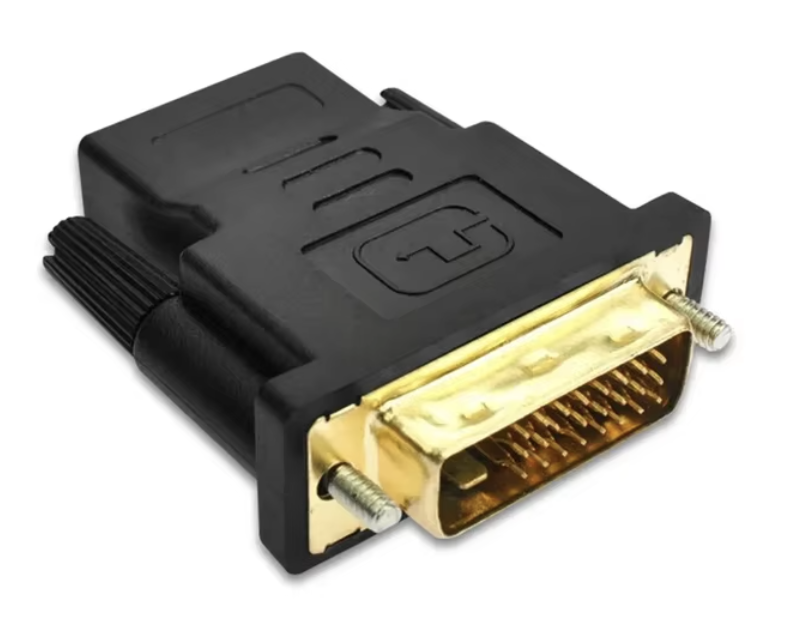
Outputting Video From the Mac Mini
For displaying video output from the Mac Mini, I use a modern MacBook. In order to achieve this, I use two adapters. First, I convert the DVI-D output to HDMI using a dongle. Then I use an HDMI capture dongle to convert the HDMI output as input on my MacBook via QuickTime player.
Leave a Reply